Status Pages
Public-facing status pages to communicate system health and incidentsEdit
Create public status pages to communicate system health, incidents, and scheduled maintenance to your users.
Status pages are hosted on unique subdomains and are publicly accessible without authentication.
Public Status Page
Once published, your status page displays real-time system health to users:
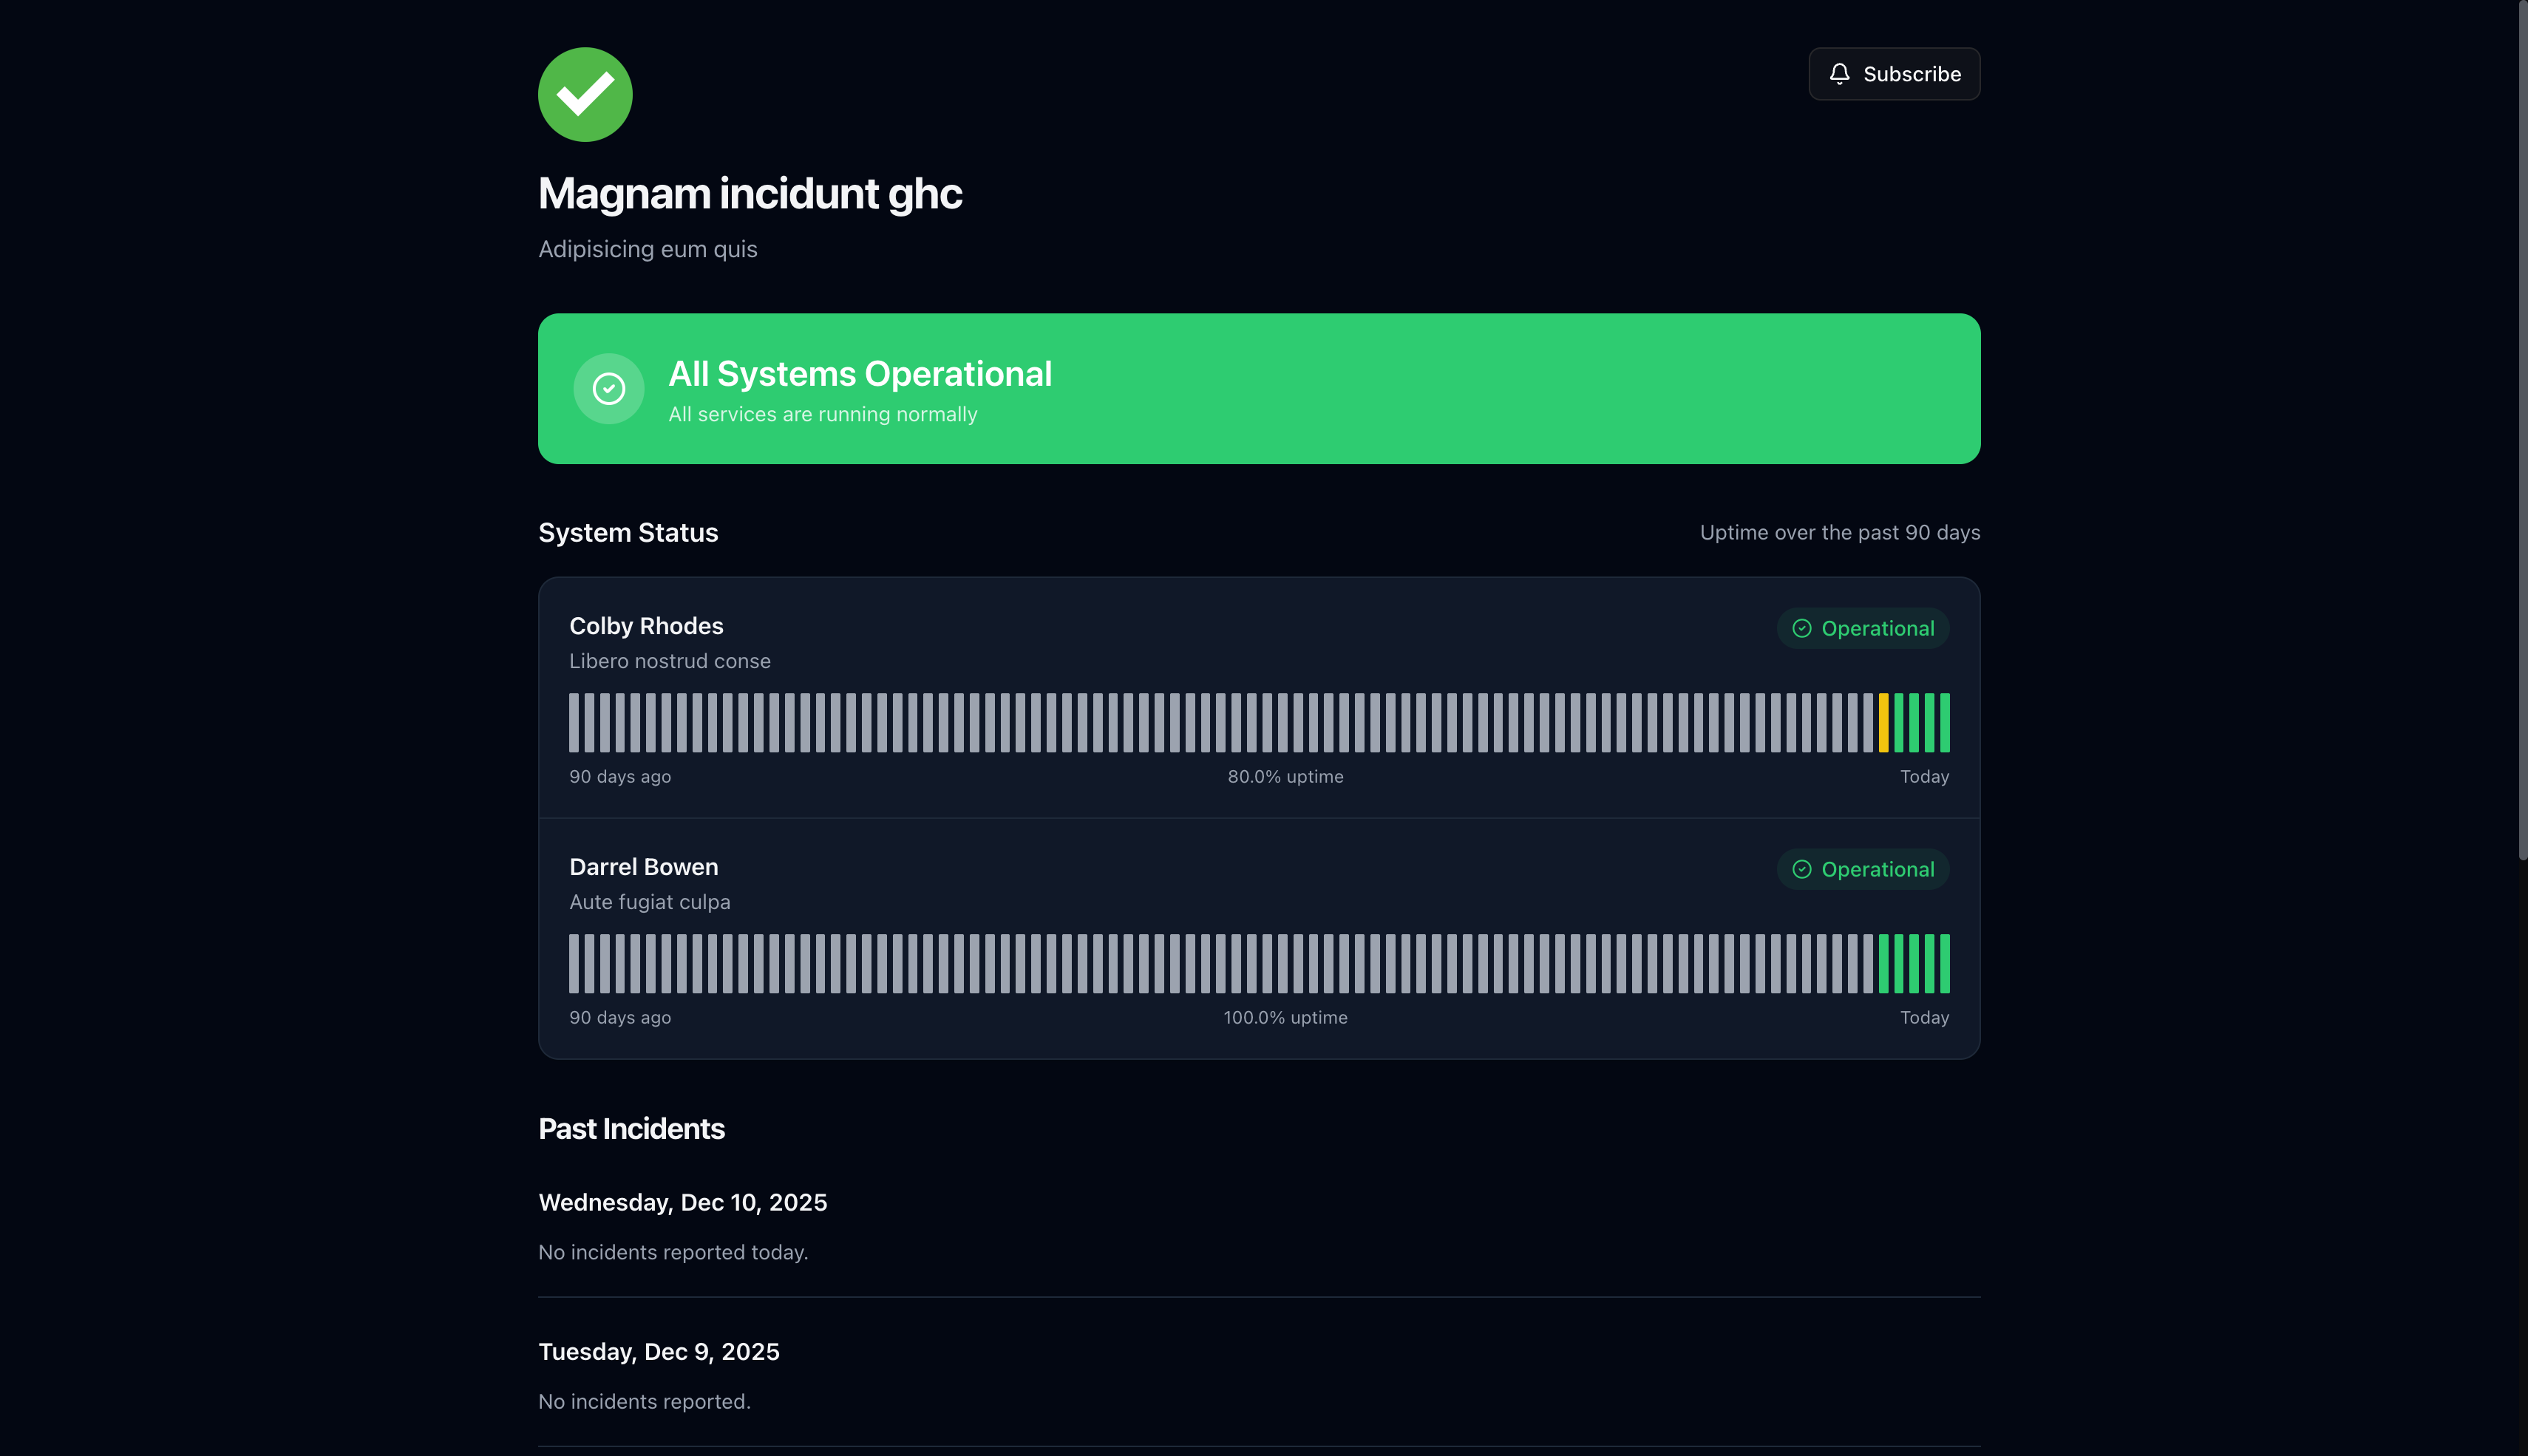
What users see:
- Status Banner — Overall system health (All Systems Operational, Partial Outage, etc.)
- Components — Individual services with current status and 90-day uptime chart
- Past Incidents — Recent incident history grouped by date
- Subscribe Button — Subscribe to receive incident notifications
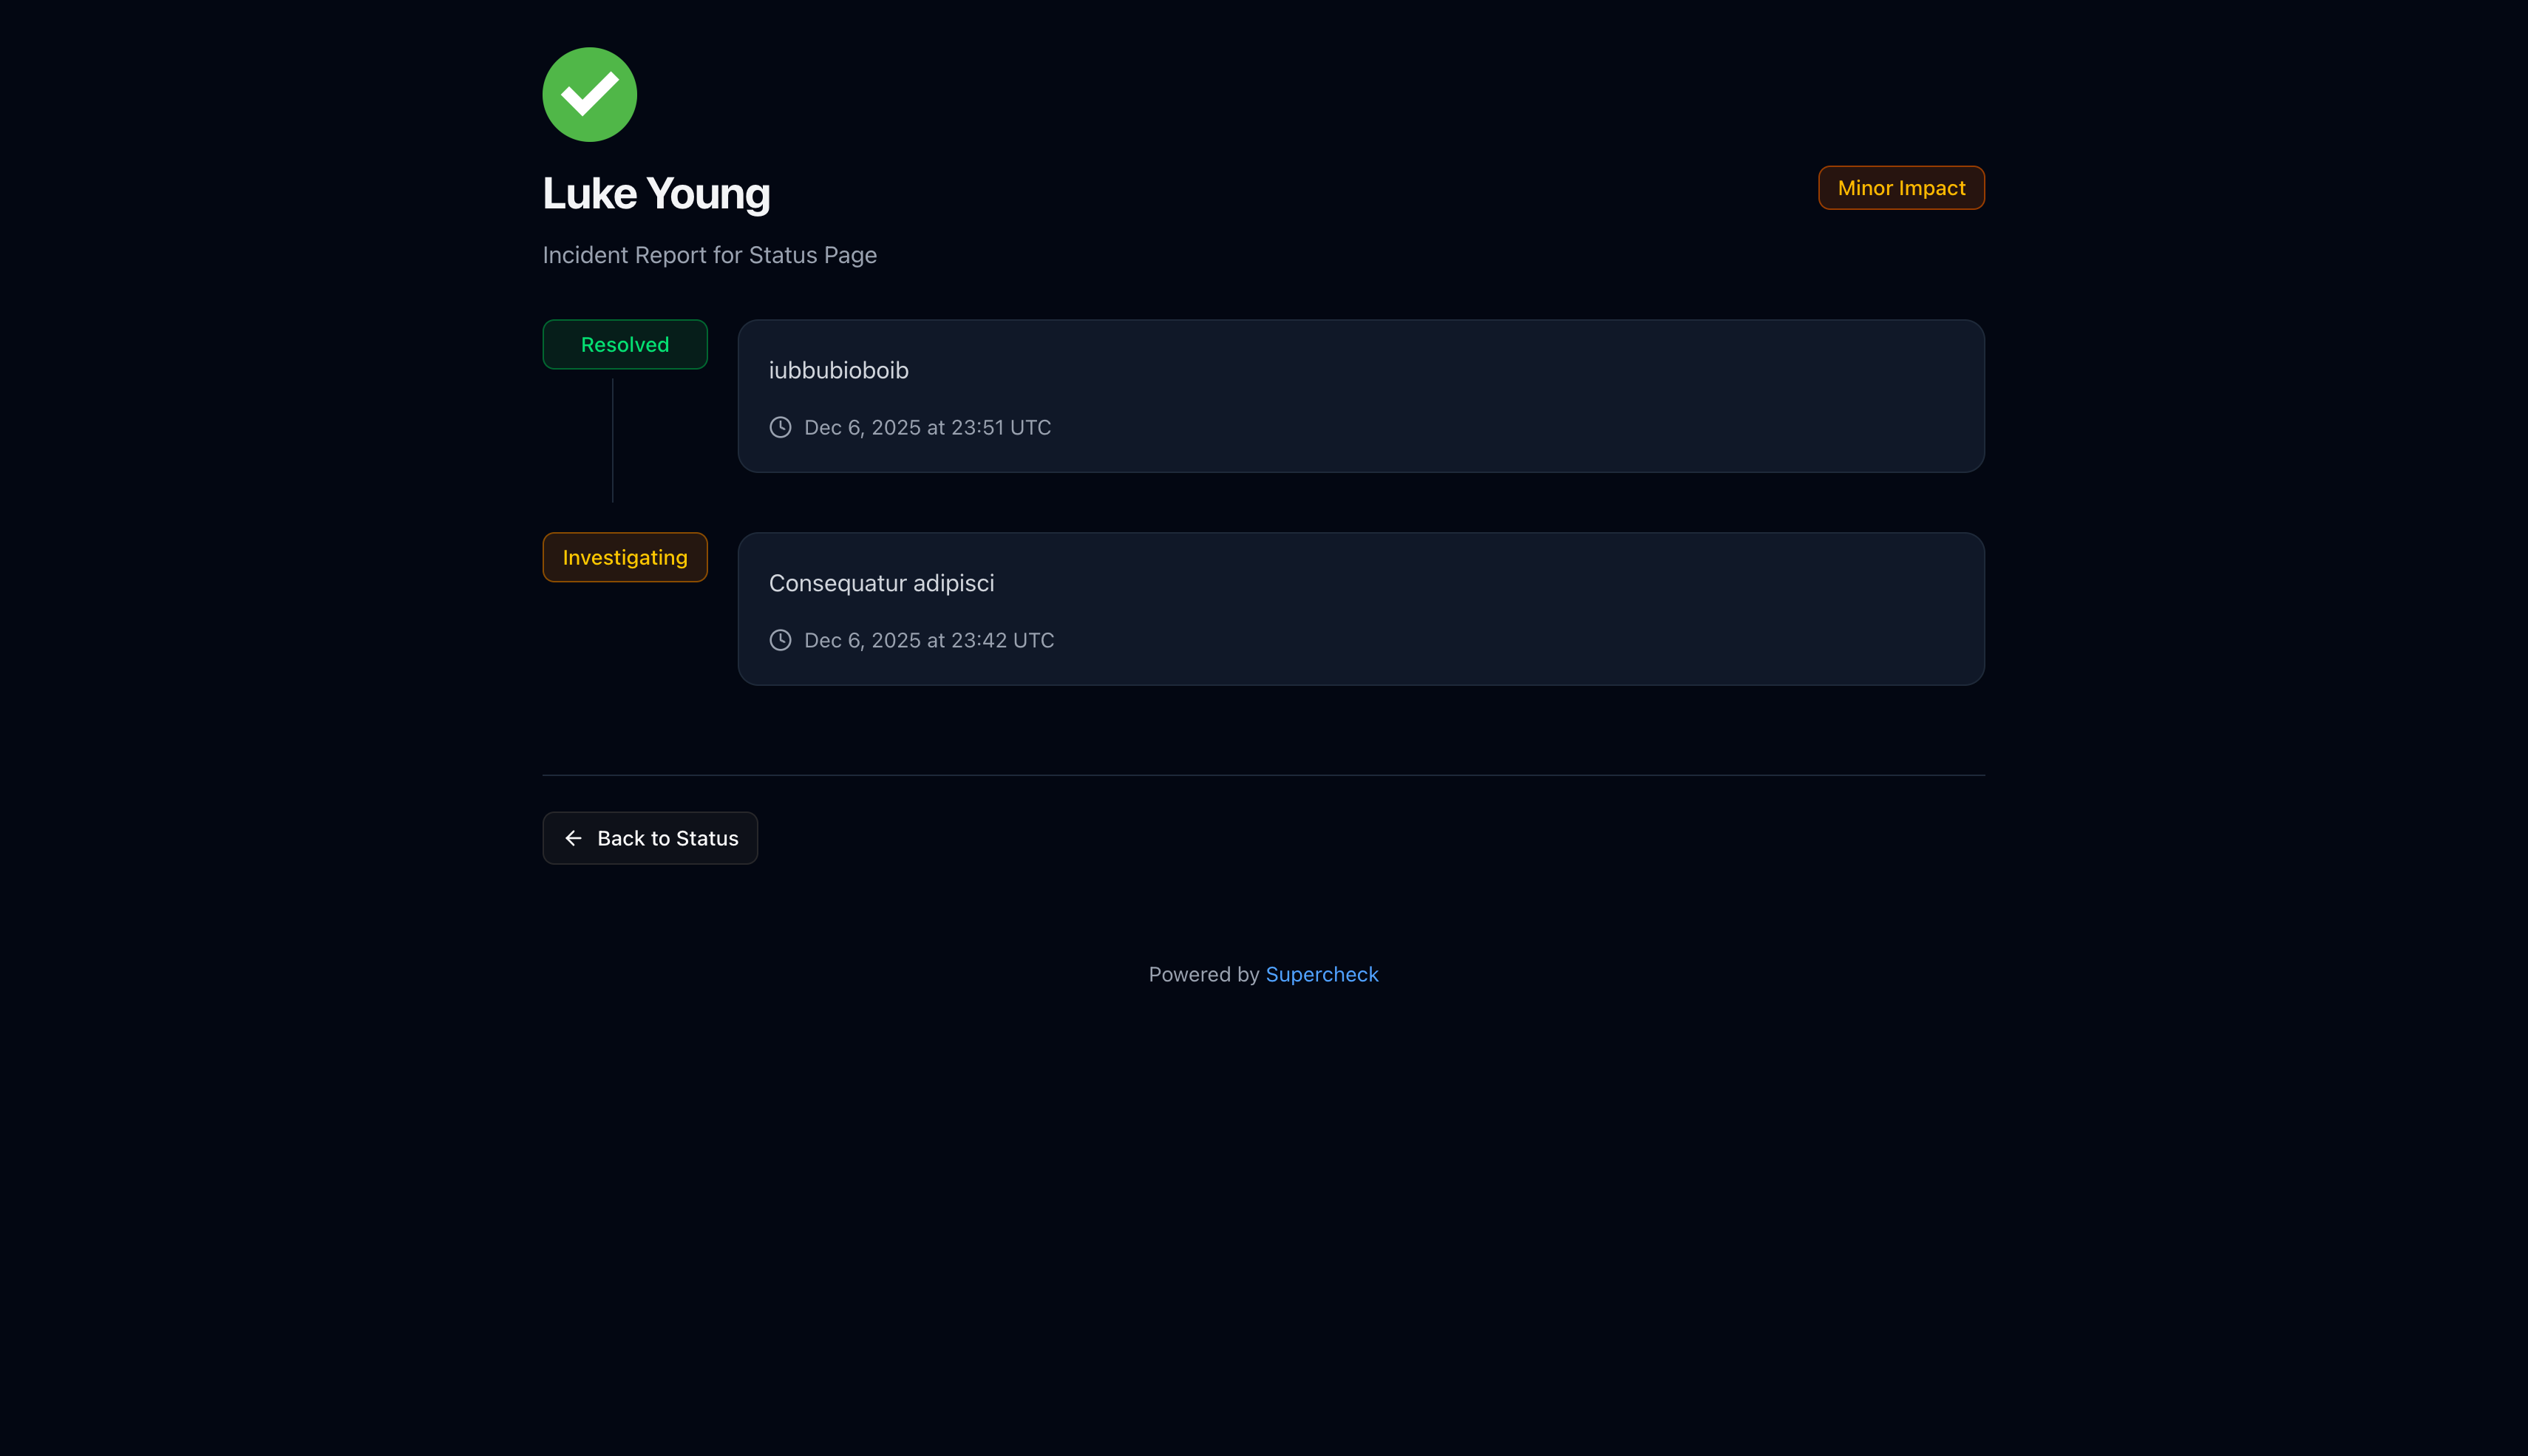
Incident Details
Users can click any incident to view the full timeline of updates:
Subscribing to Updates
Users can subscribe to receive notifications when incidents are created, updated, or resolved.
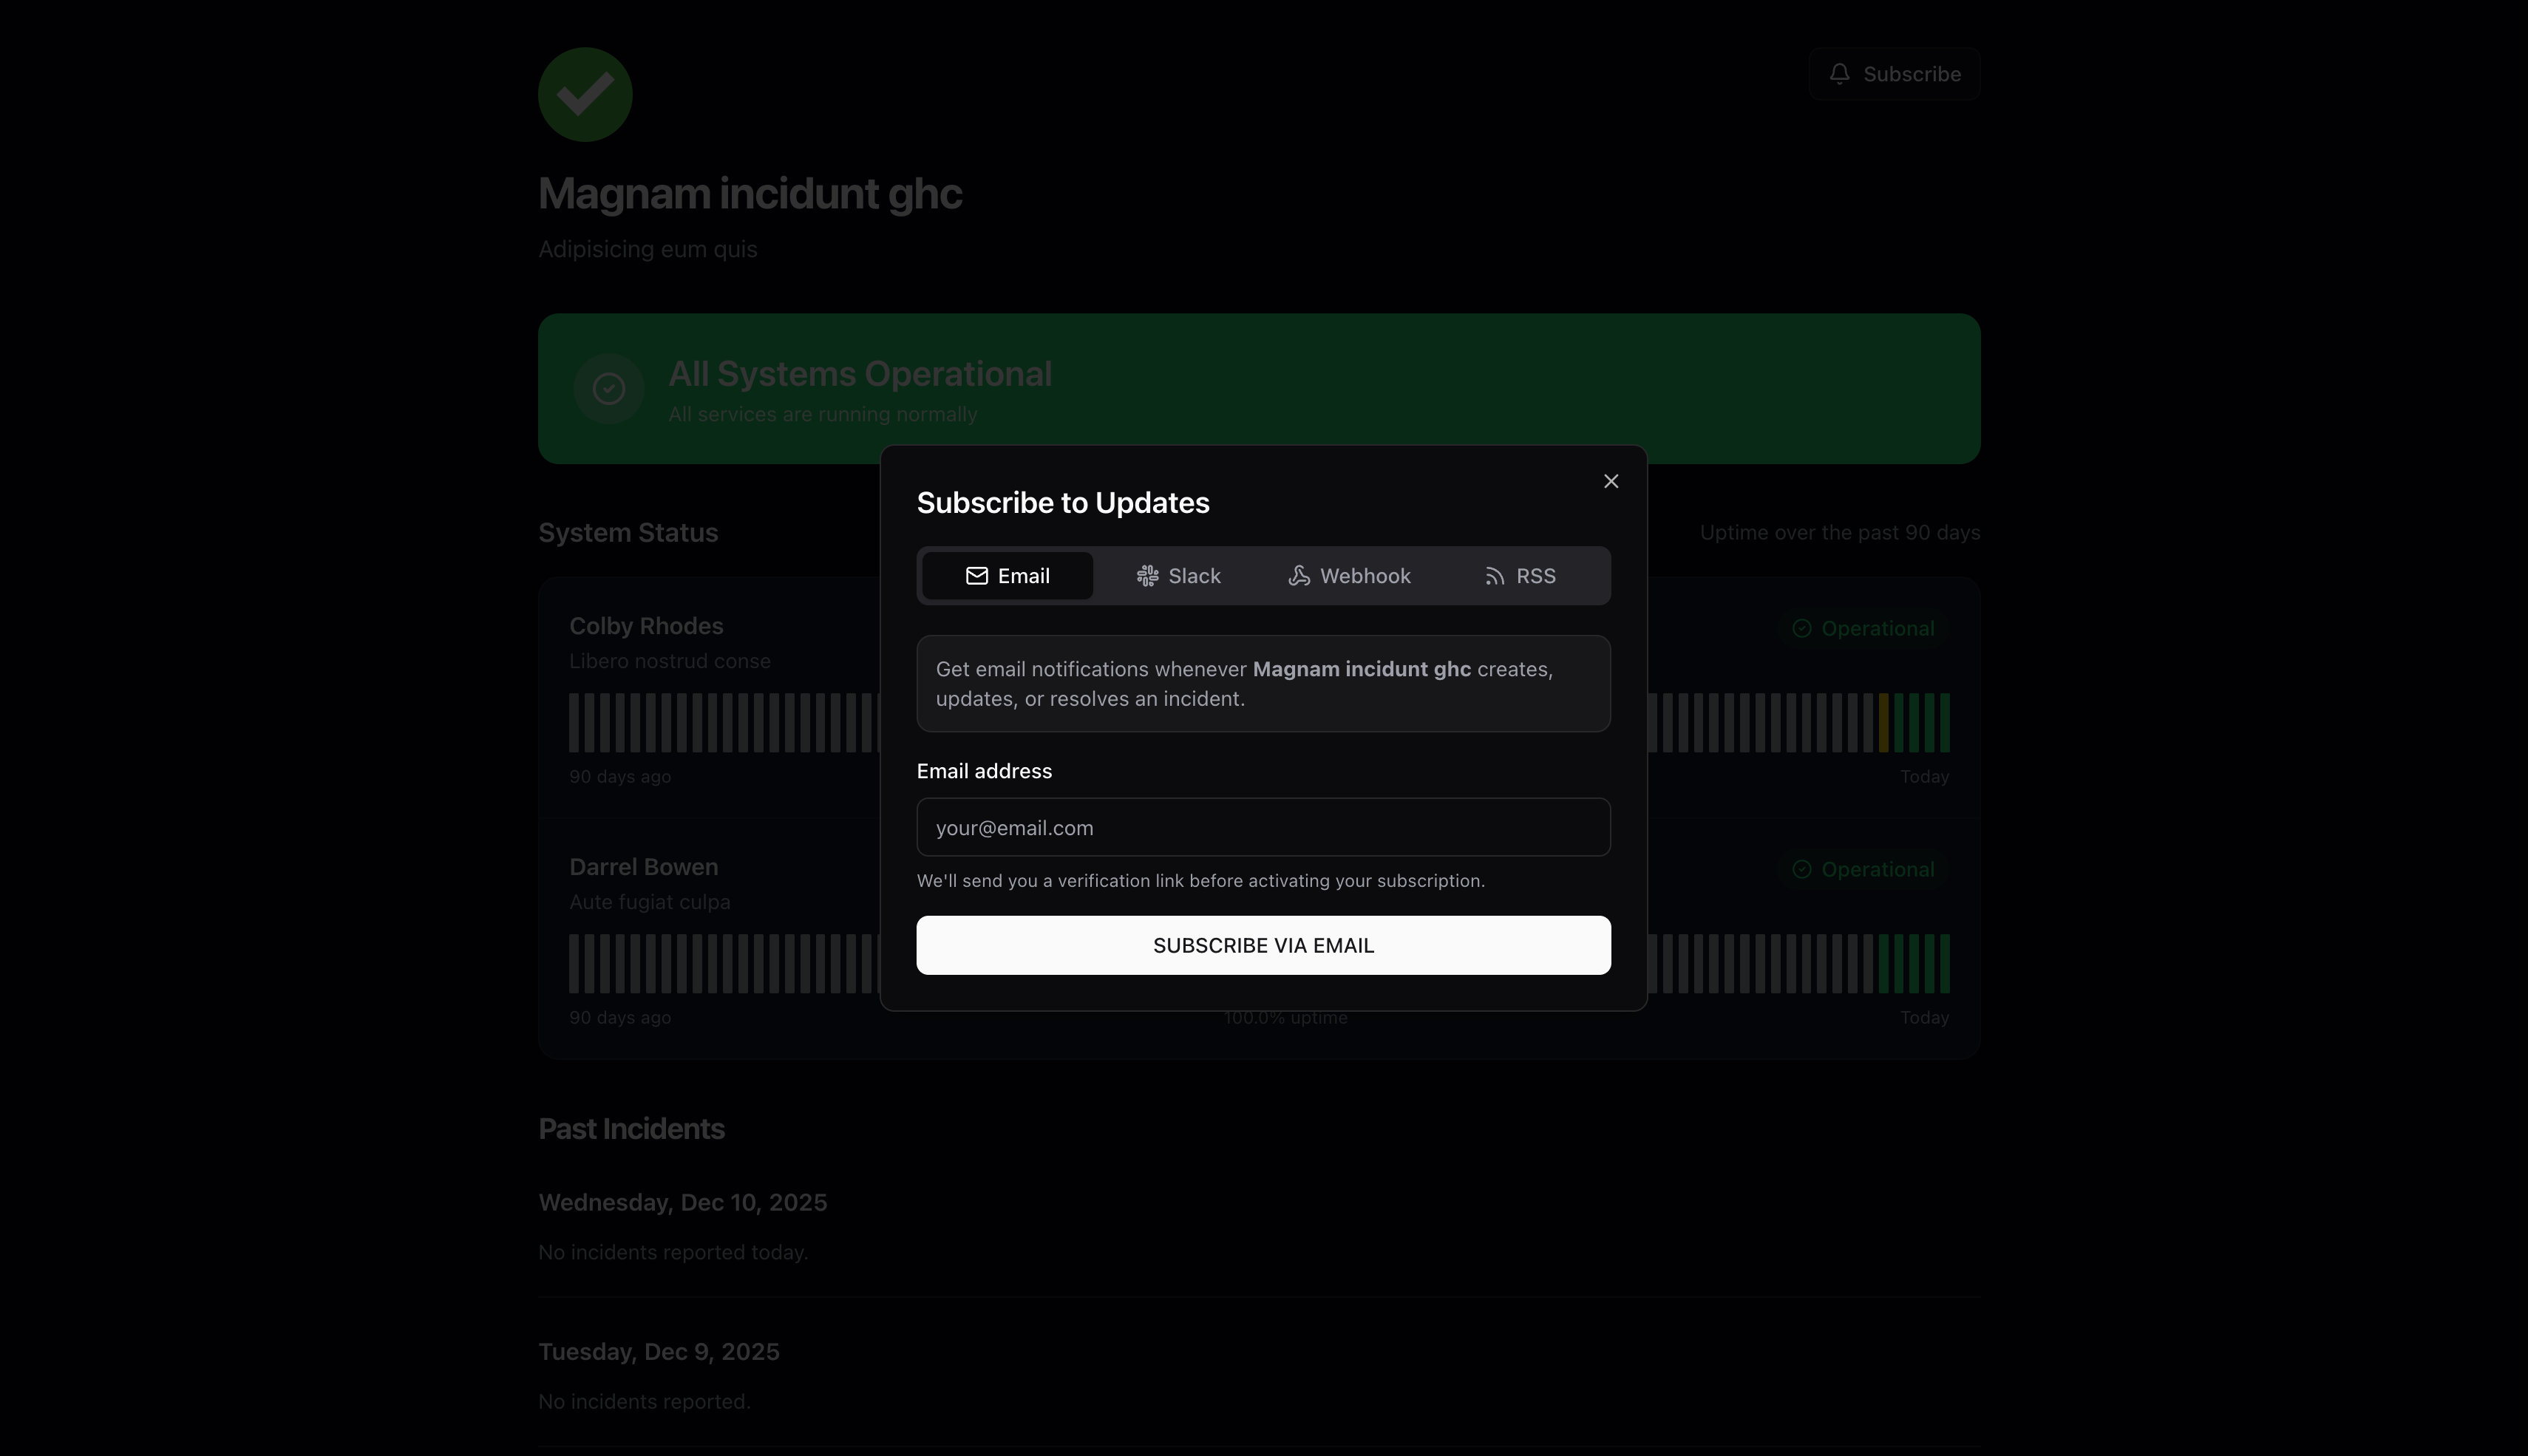
- Click Subscribe on the status page
- Enter email address
- Click Subscribe via Email
- Check inbox for verification email
- Click verification link to activate subscription
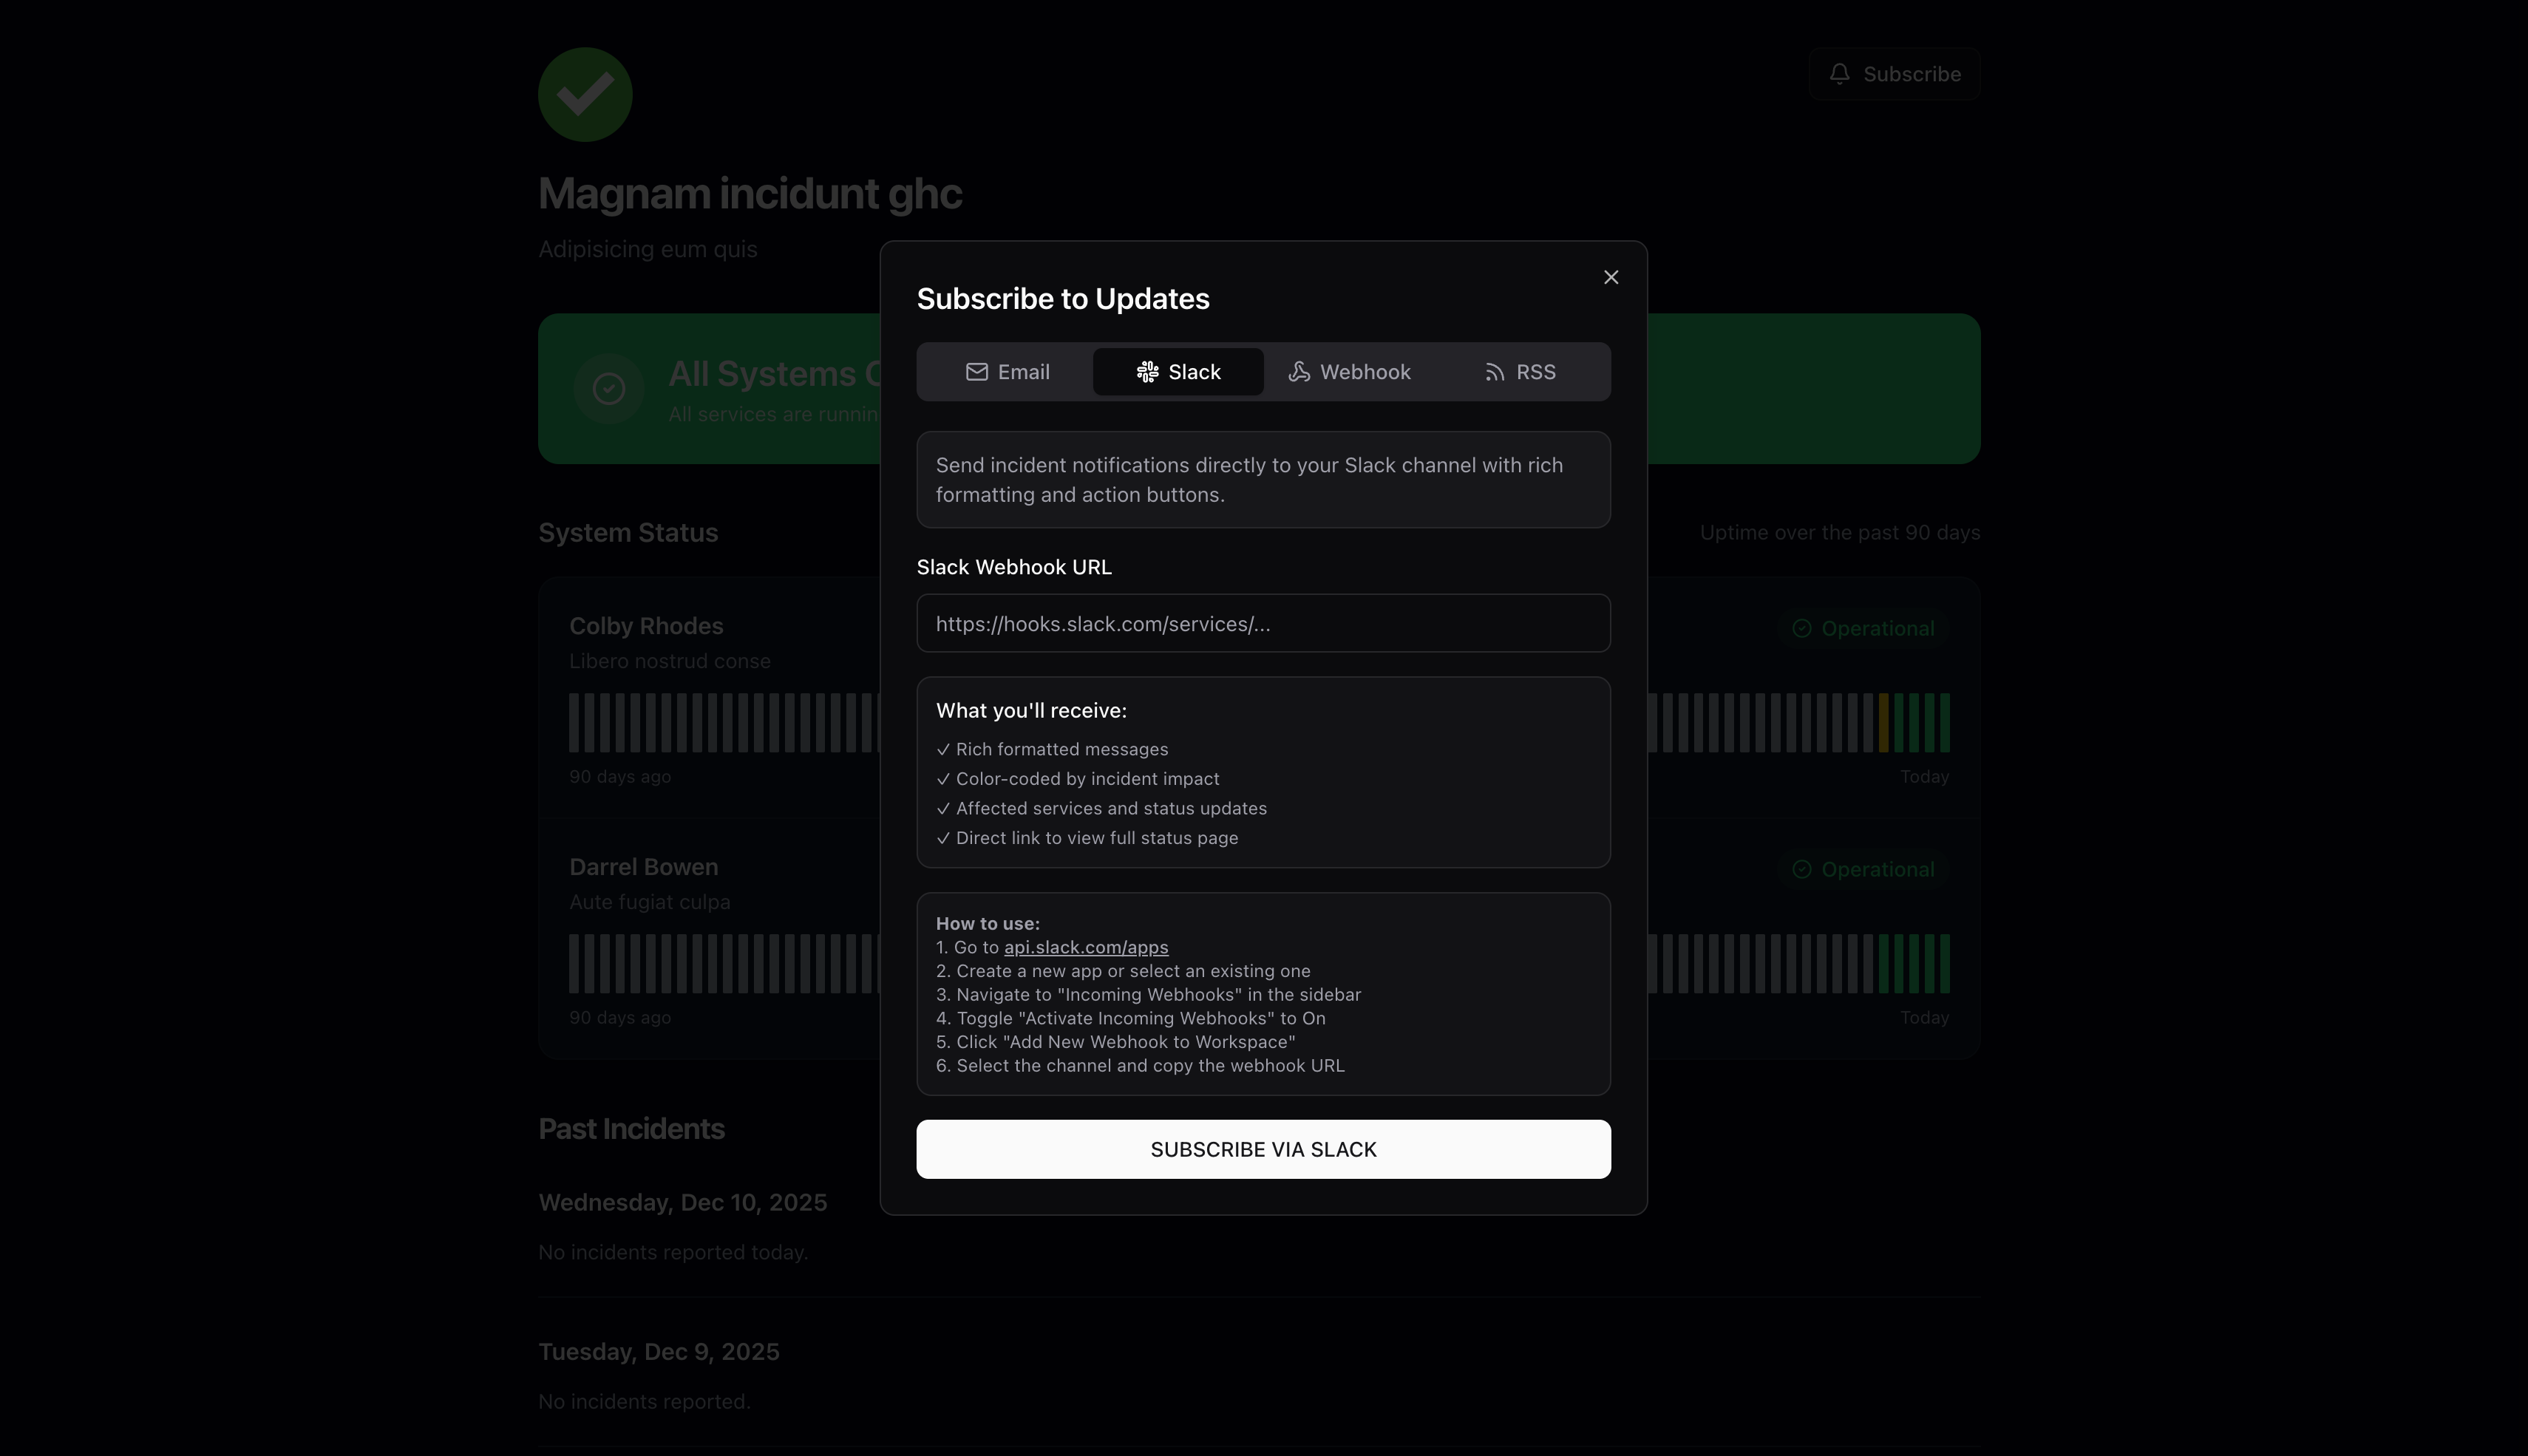
Send incident notifications directly to a Slack channel:
- Create a Slack app at api.slack.com/apps
- Enable Incoming Webhooks
- Add webhook to your workspace and select channel
- Copy the webhook URL
- Paste URL in the subscription dialog
Slack notifications include:
- Rich formatted messages
- Color-coded by incident impact
- Affected services and status updates
- Direct link to status page
For custom integrations, subscribe via webhook:
- Select Webhook tab
- Enter your webhook endpoint URL
- Receive JSON payloads for all incident events
Subscribe via RSS for feed readers and monitoring tools.
Managing Status Pages
Navigate to Communicate → Status Pages to view all your status pages.
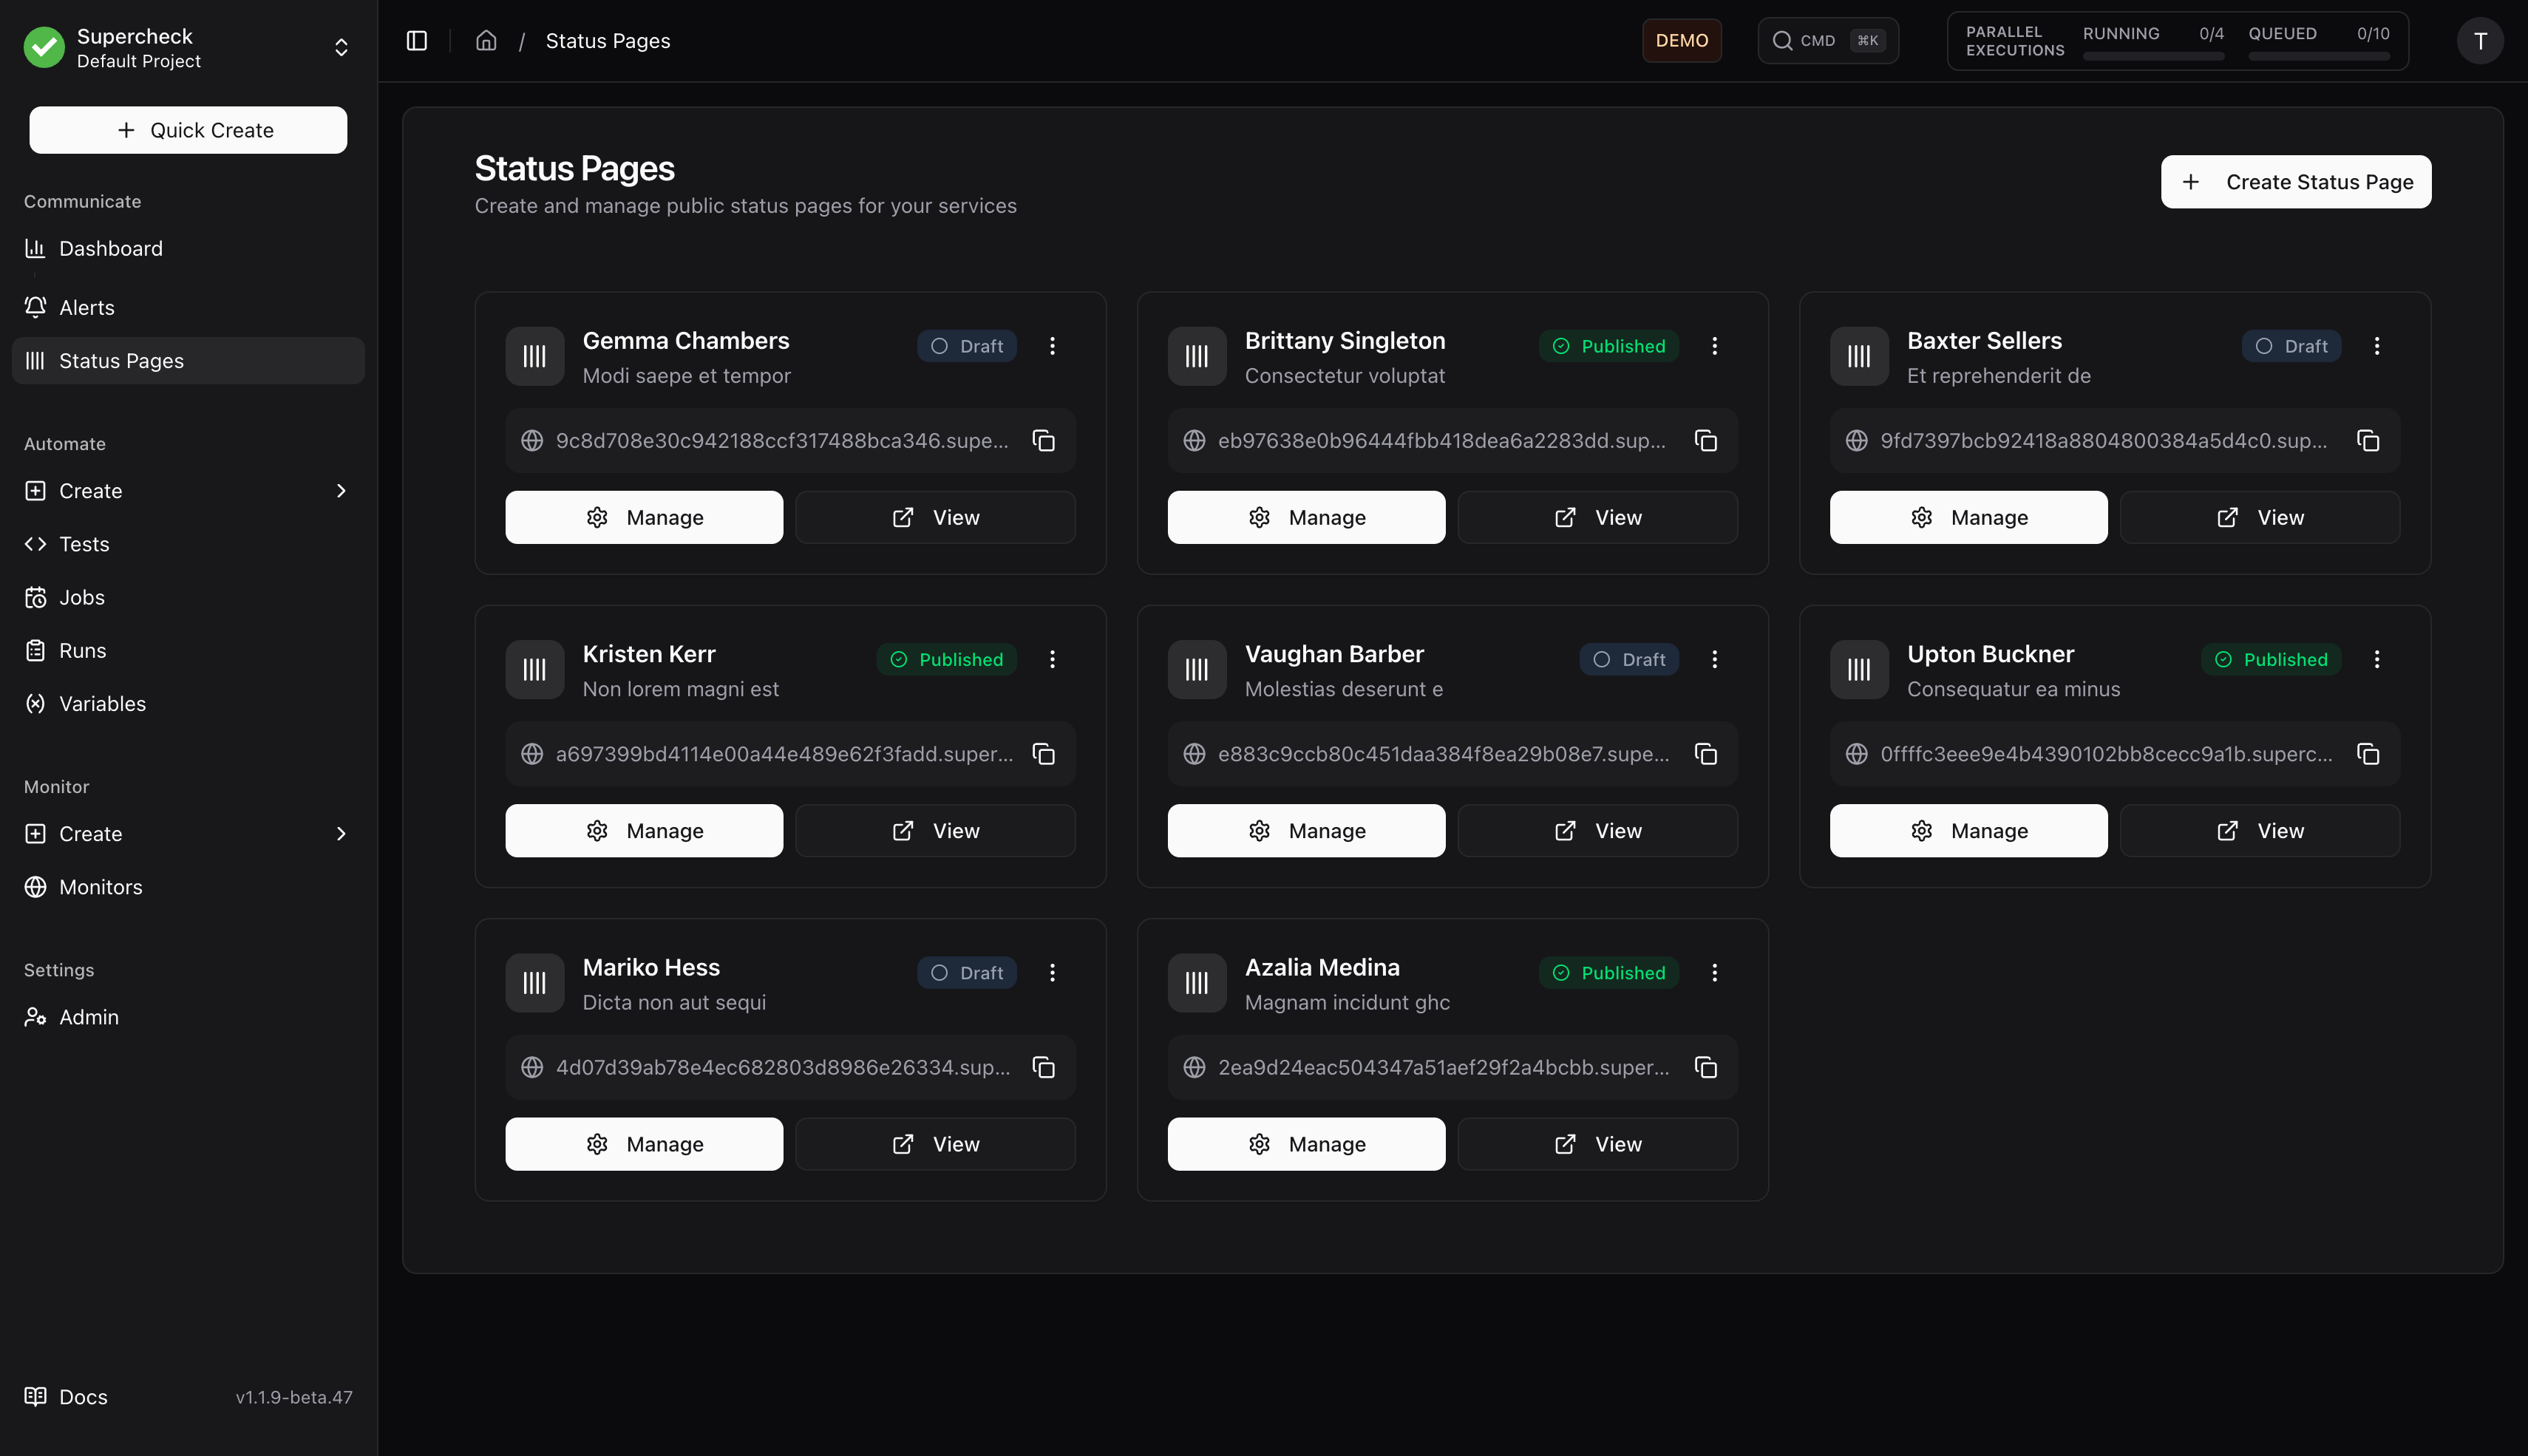
Click Manage to access the management interface:
Creating a Status Page
- Click Create Status Page
- Enter:
- Name — Internal identifier
- Headline — Public title shown on the page
- Description — Brief description for users
- Click Create
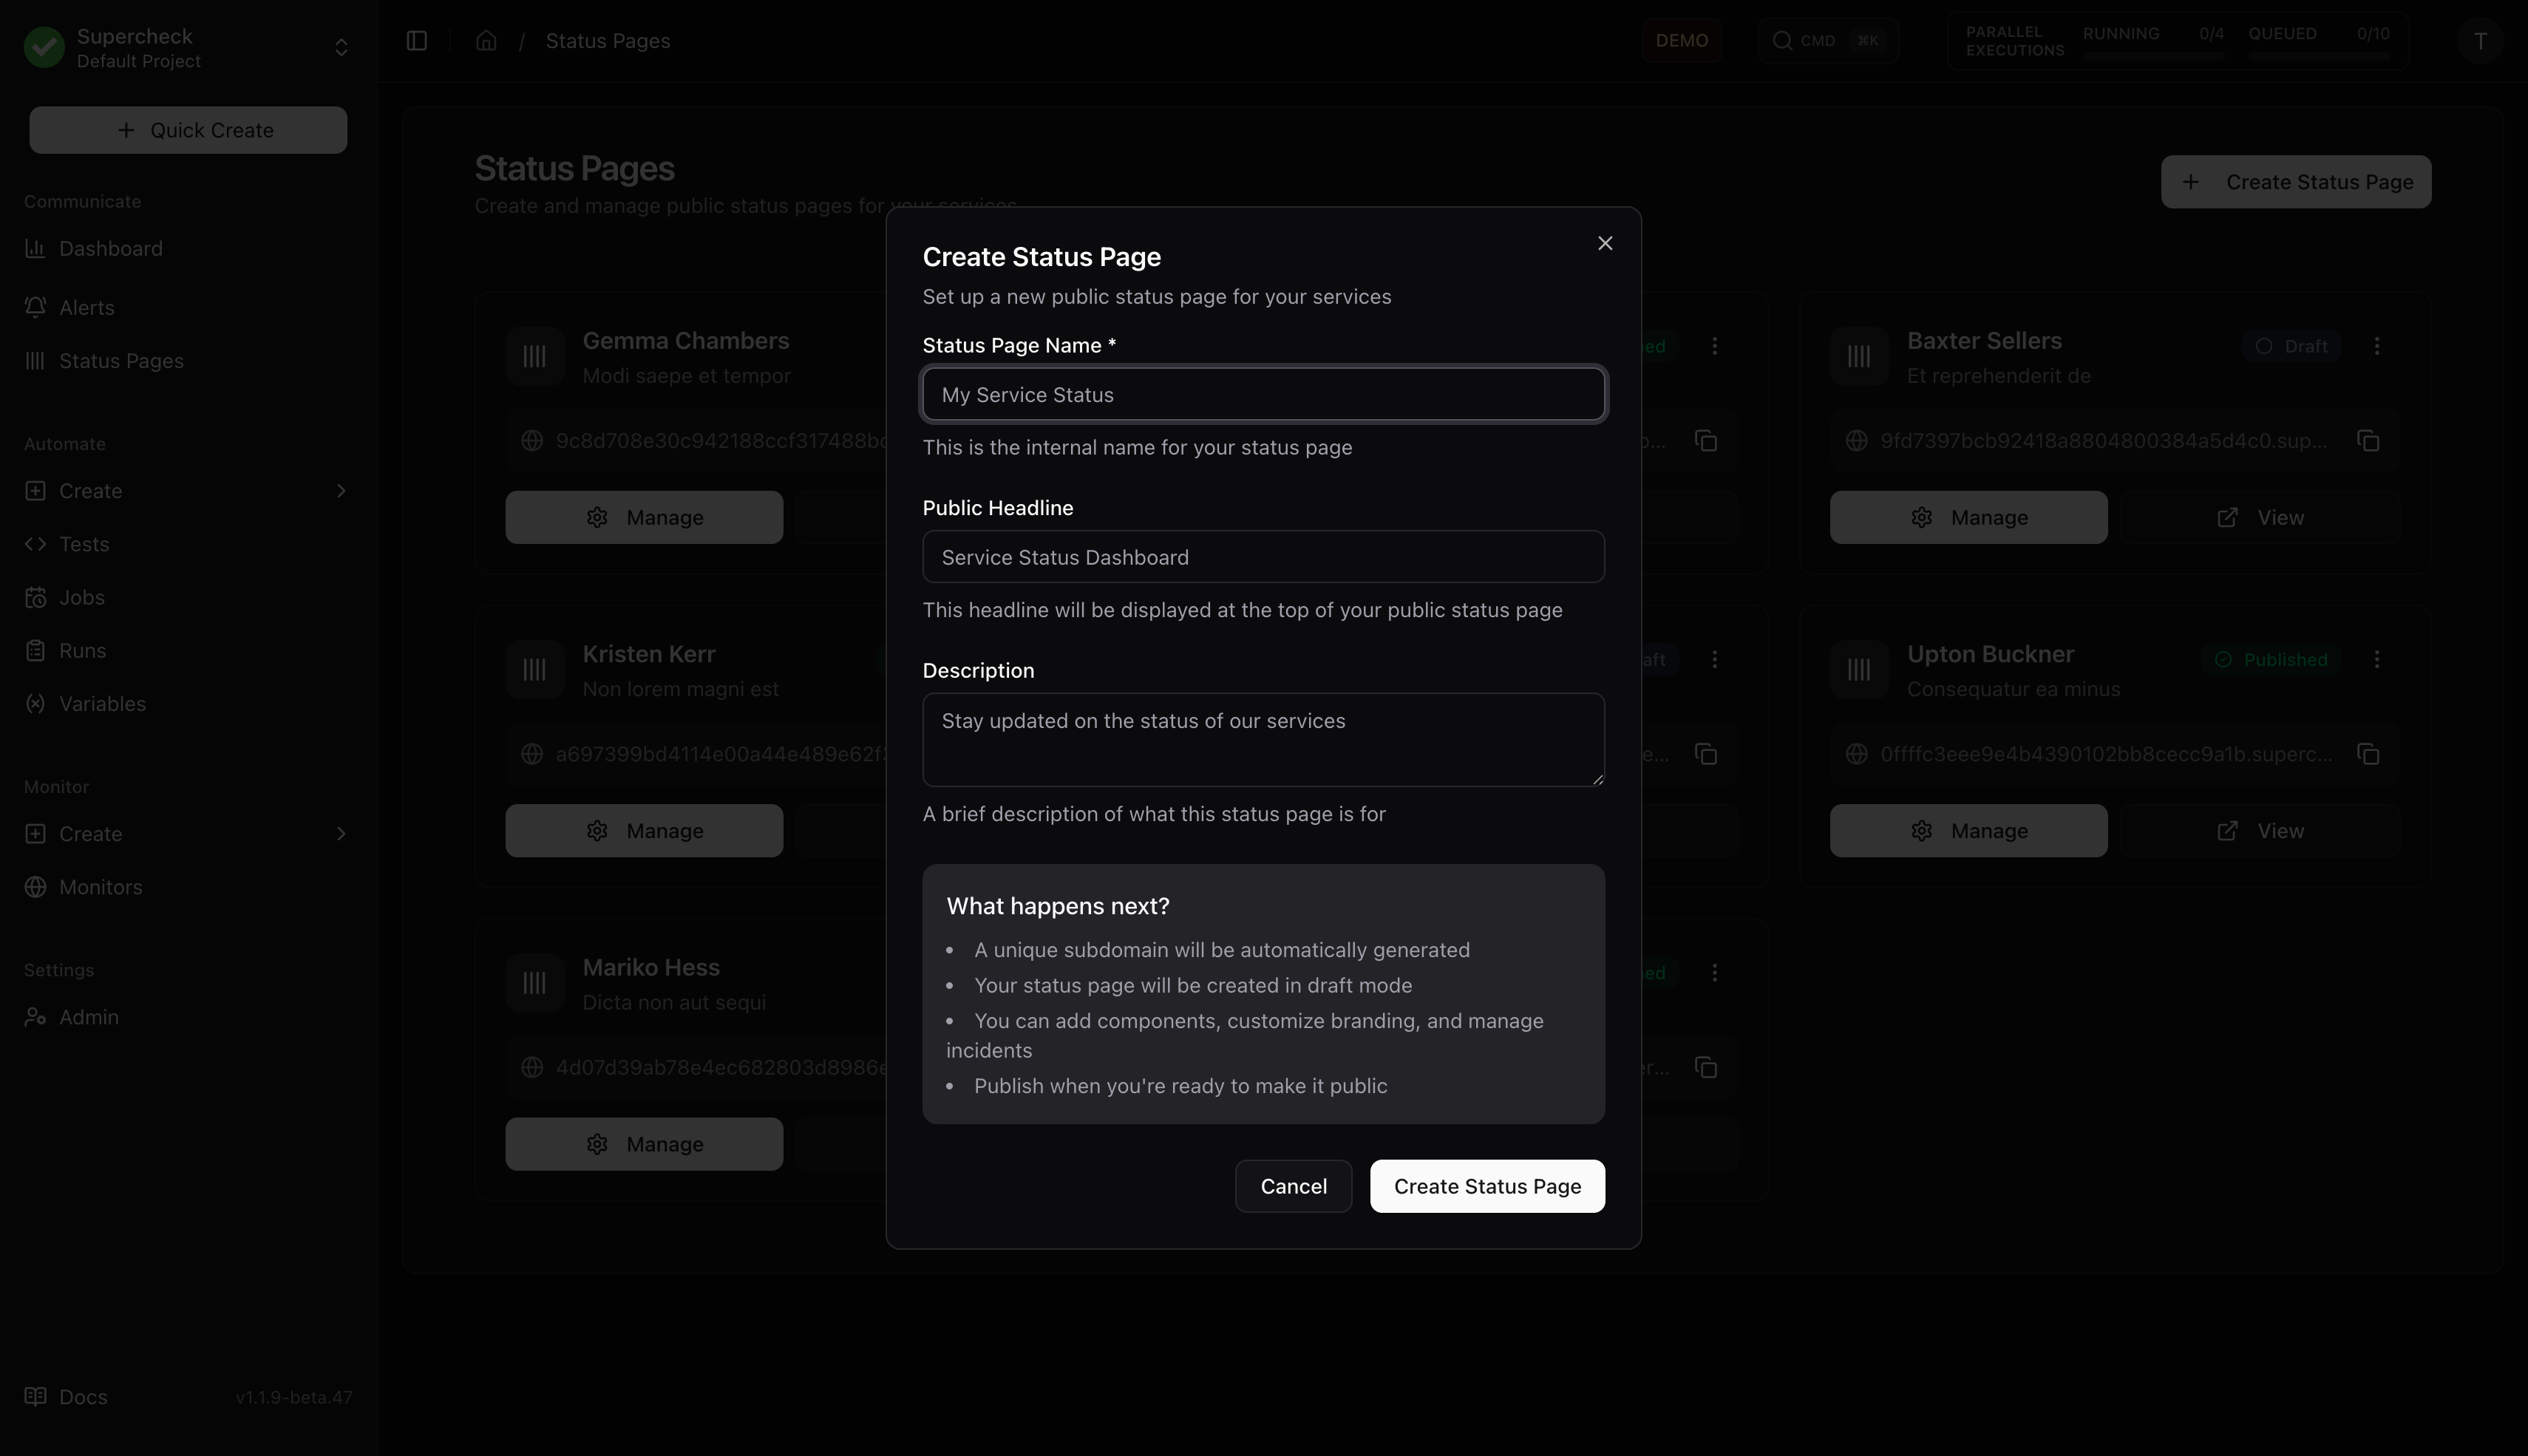
Your page is created in draft mode. Configure components and settings before publishing.
Publishing
- Add at least one component
- Configure branding in Settings
- Click Publish to make the page public
- Share the URL with your users
Components
Components represent individual services or features on your status page.
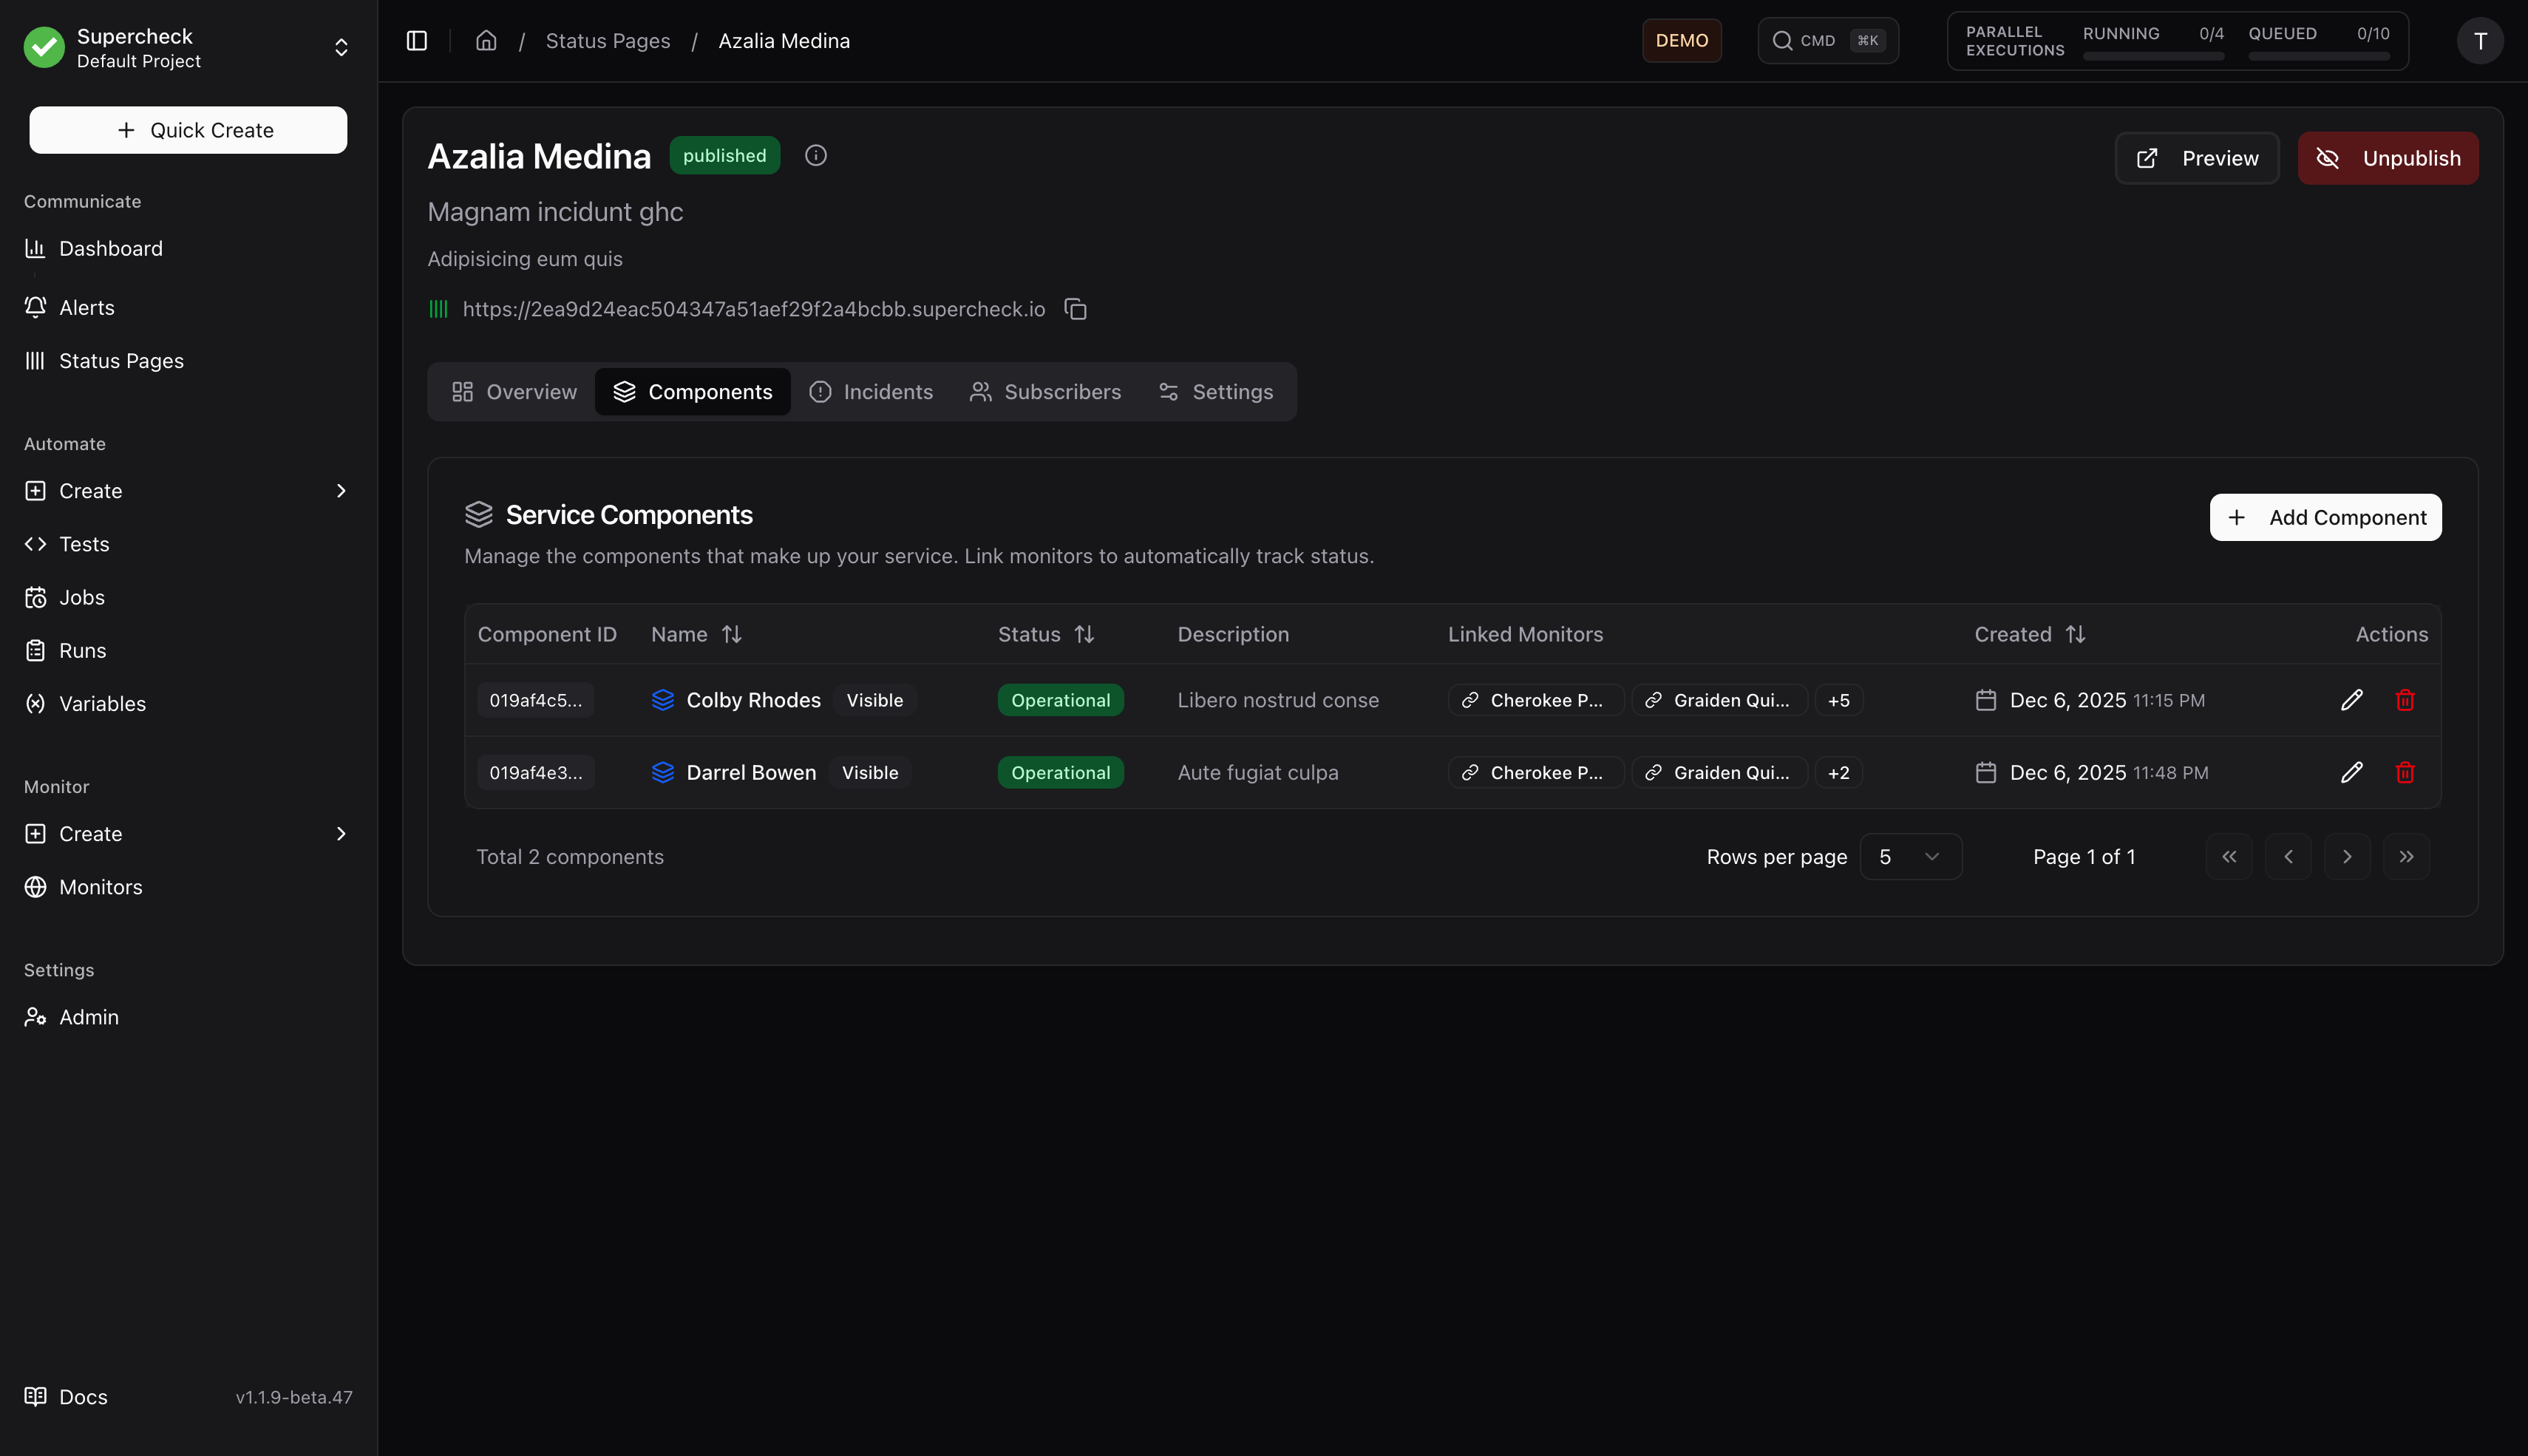
- Go to Components tab
- Click Add Component
- Enter:
- Name — Service name (e.g., "API", "Website", "Database")
- Description — Brief explanation
- Status — Current operational status
- Linked Monitors — Associate monitors for reference
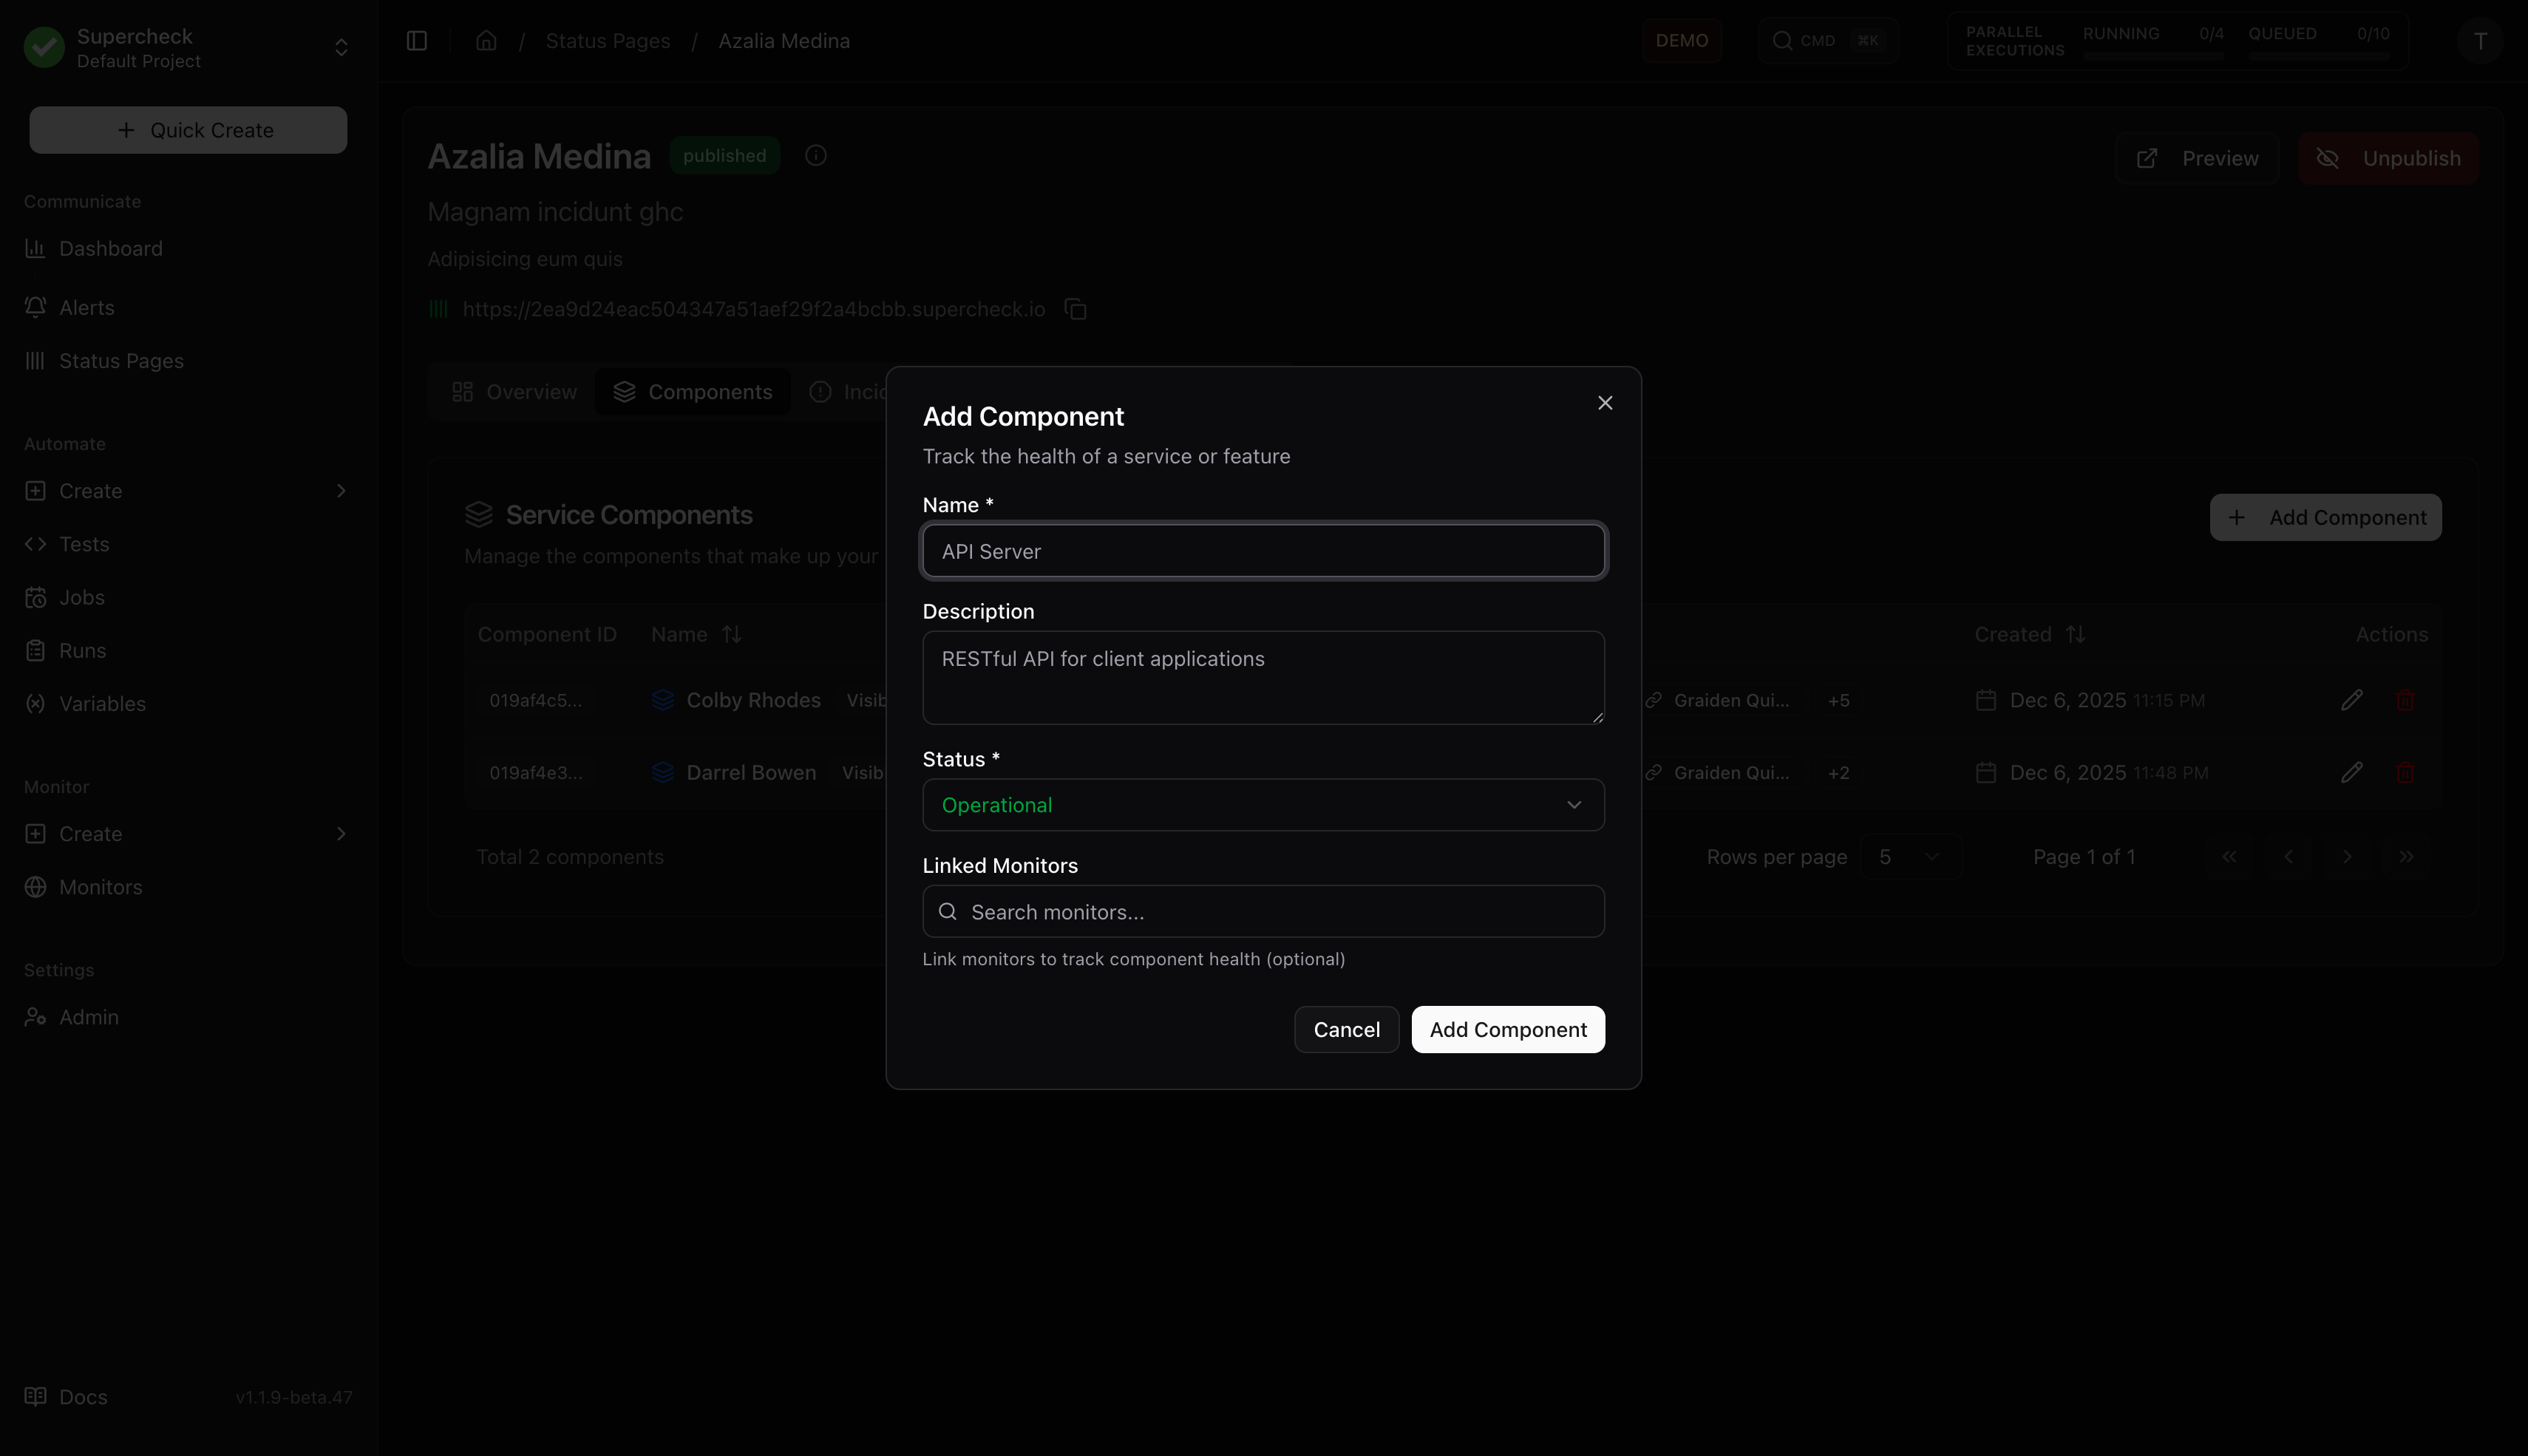
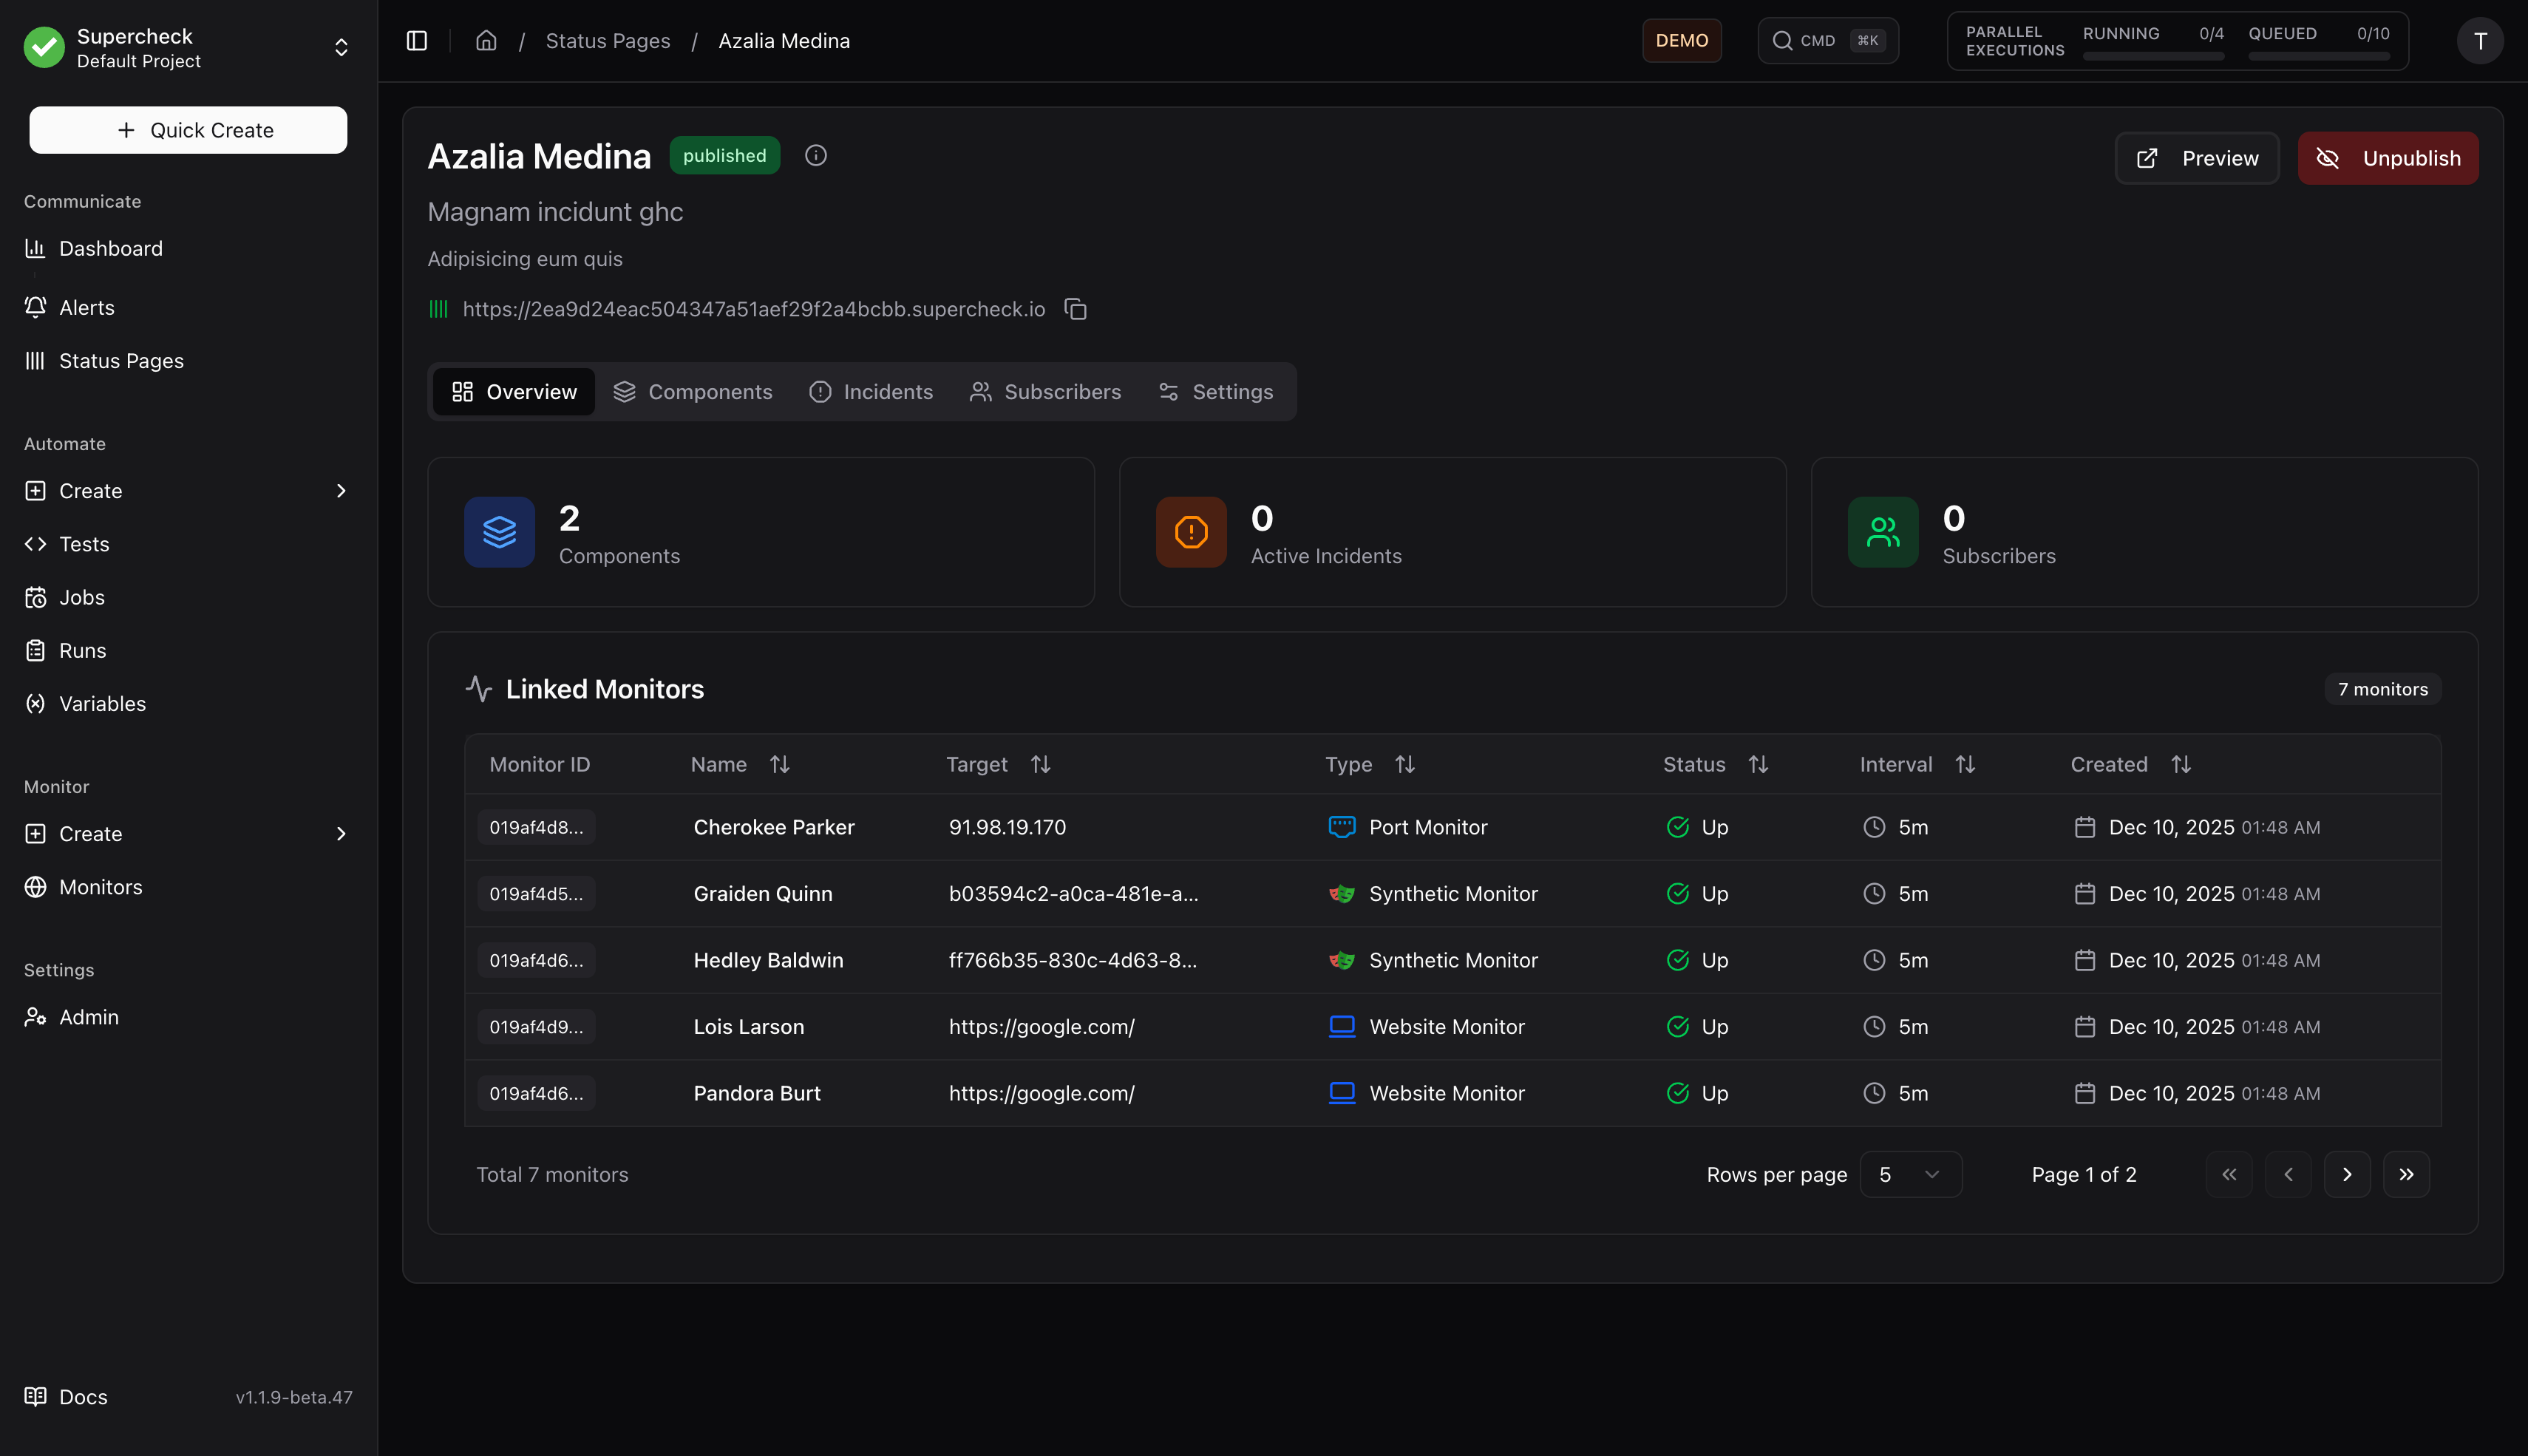
Linked Monitors
Associate monitors with components for reference. Linked monitors appear in the Overview tab and help you track which monitors relate to each service.
Component status is managed manually. Update component status when creating or resolving incidents.
| Status | Color | Description |
|---|---|---|
| Operational | Green | Service functioning normally |
| Degraded Performance | Yellow | Running but slower than normal |
| Partial Outage | Orange | Some features unavailable |
| Major Outage | Red | Service completely down |
| Under Maintenance | Blue | Scheduled maintenance in progress |
Incidents
Incidents communicate service disruptions to your users.
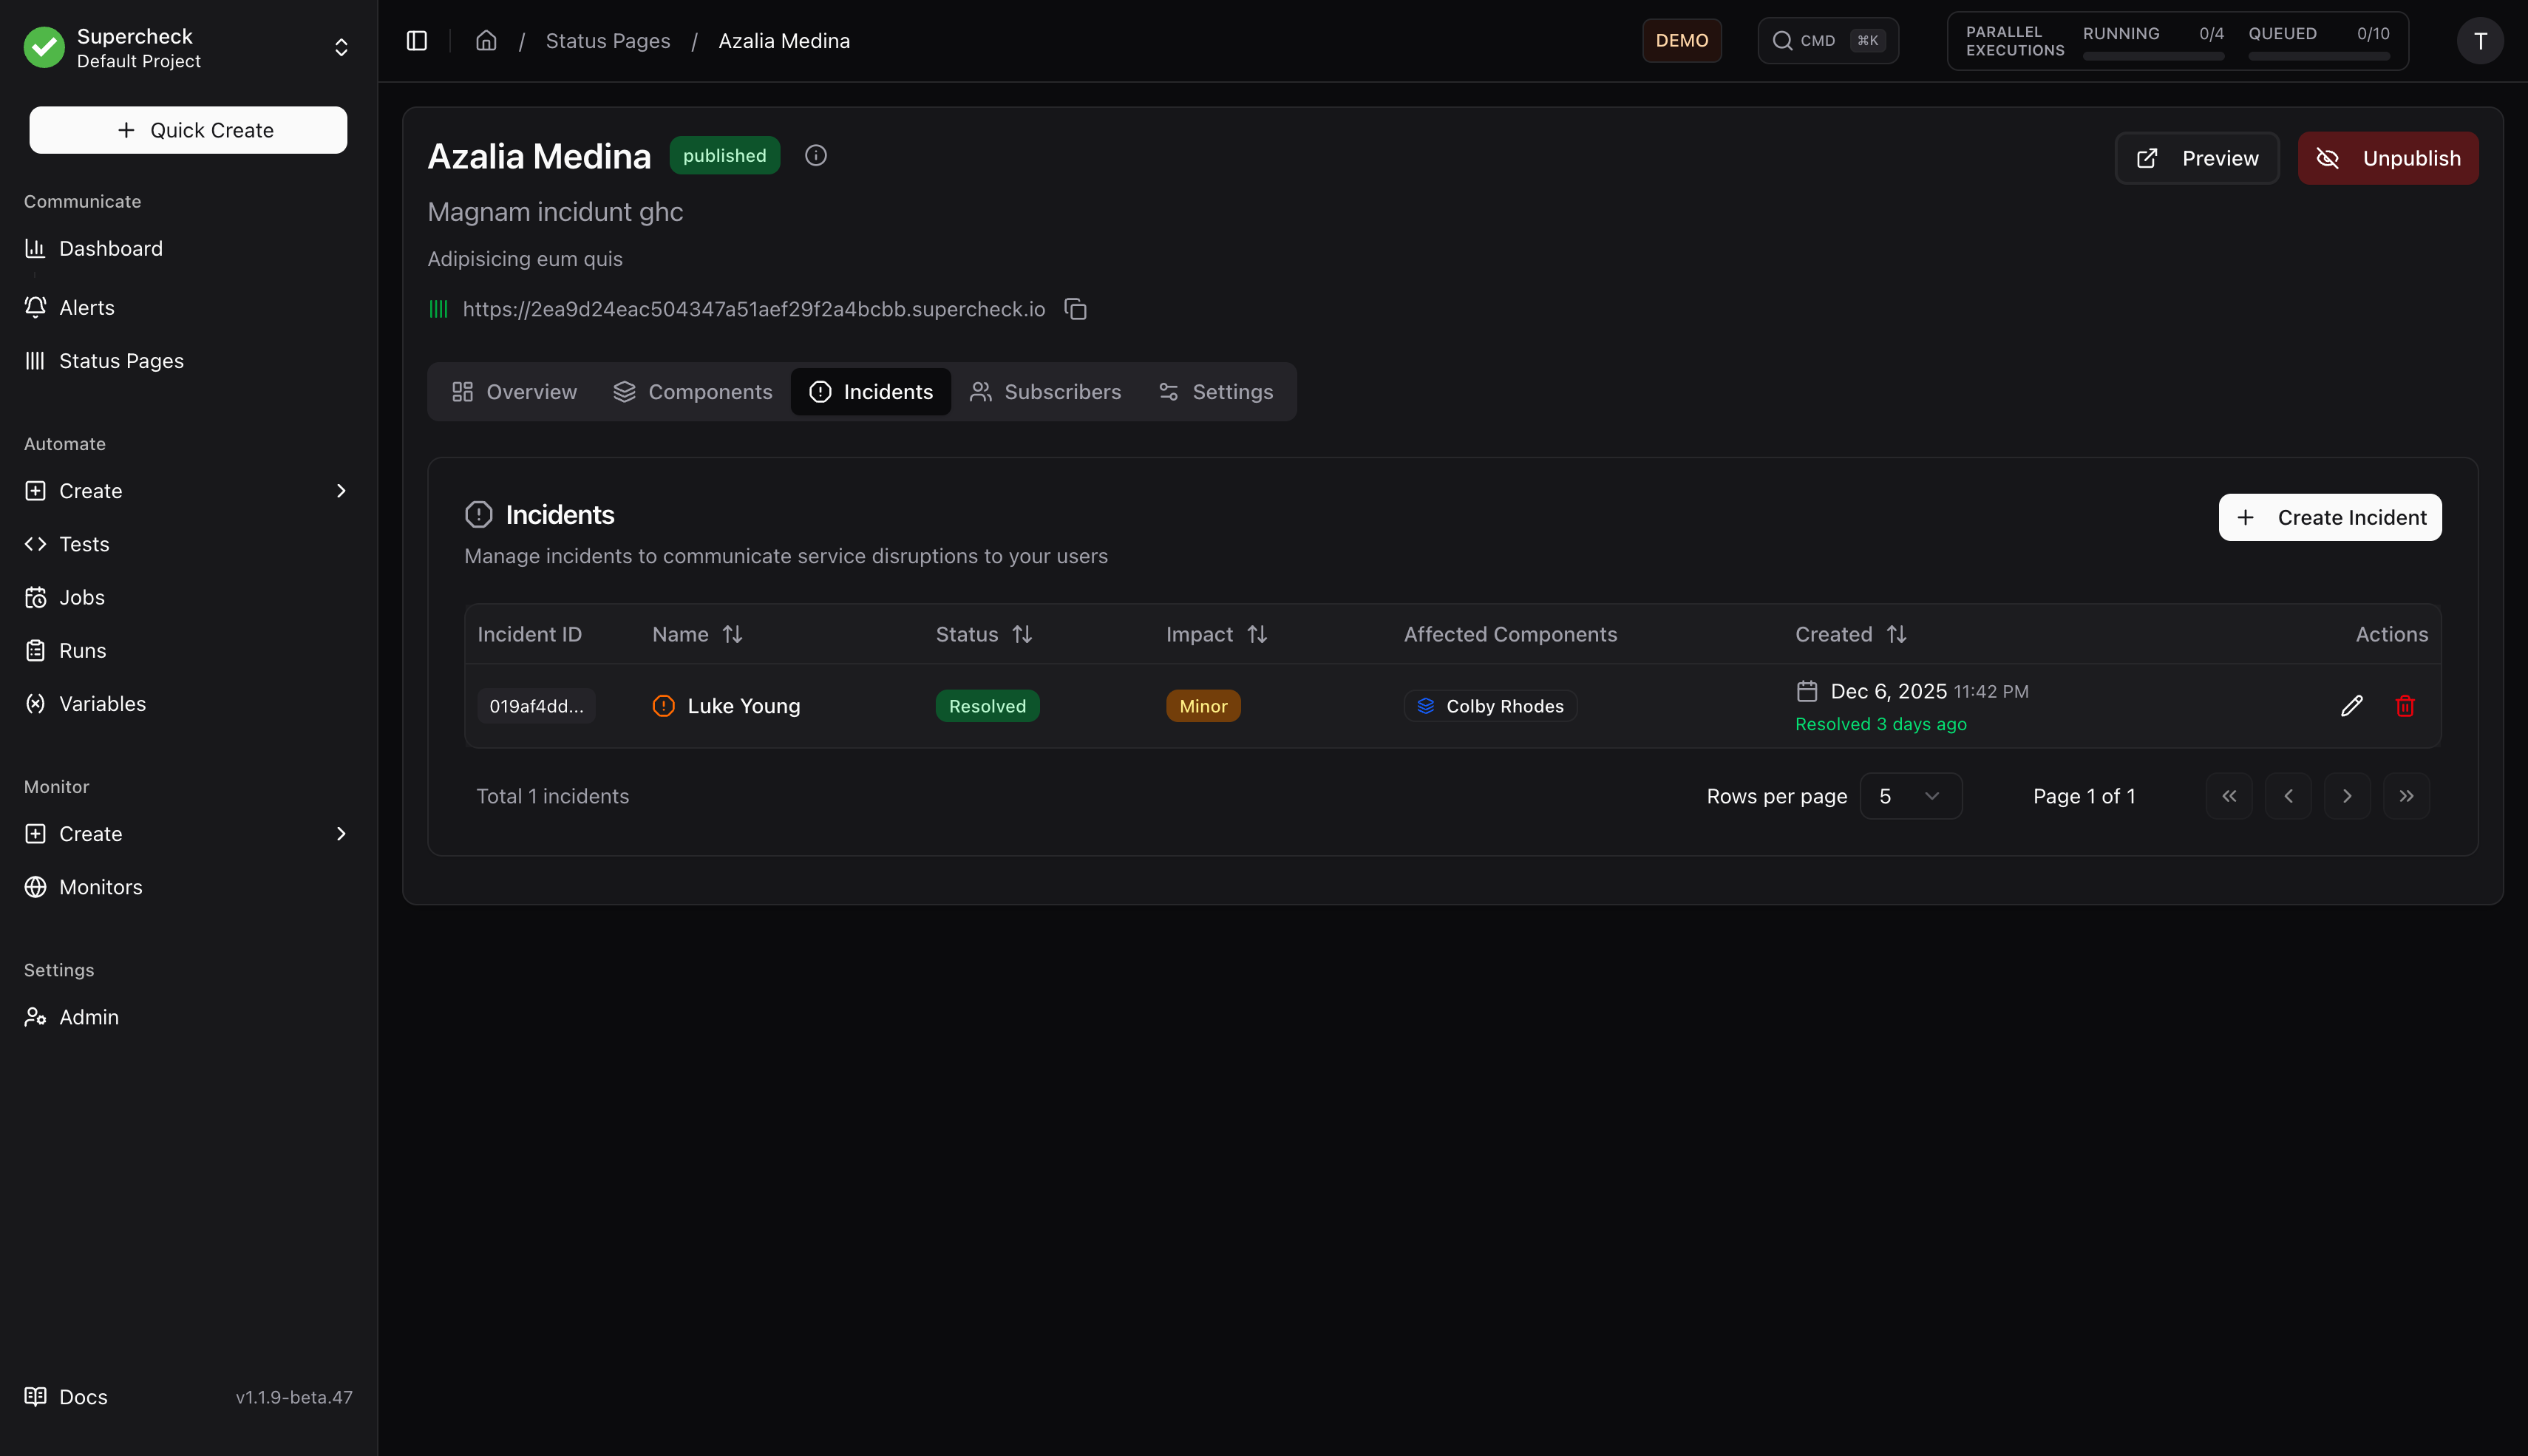
- Go to Incidents tab
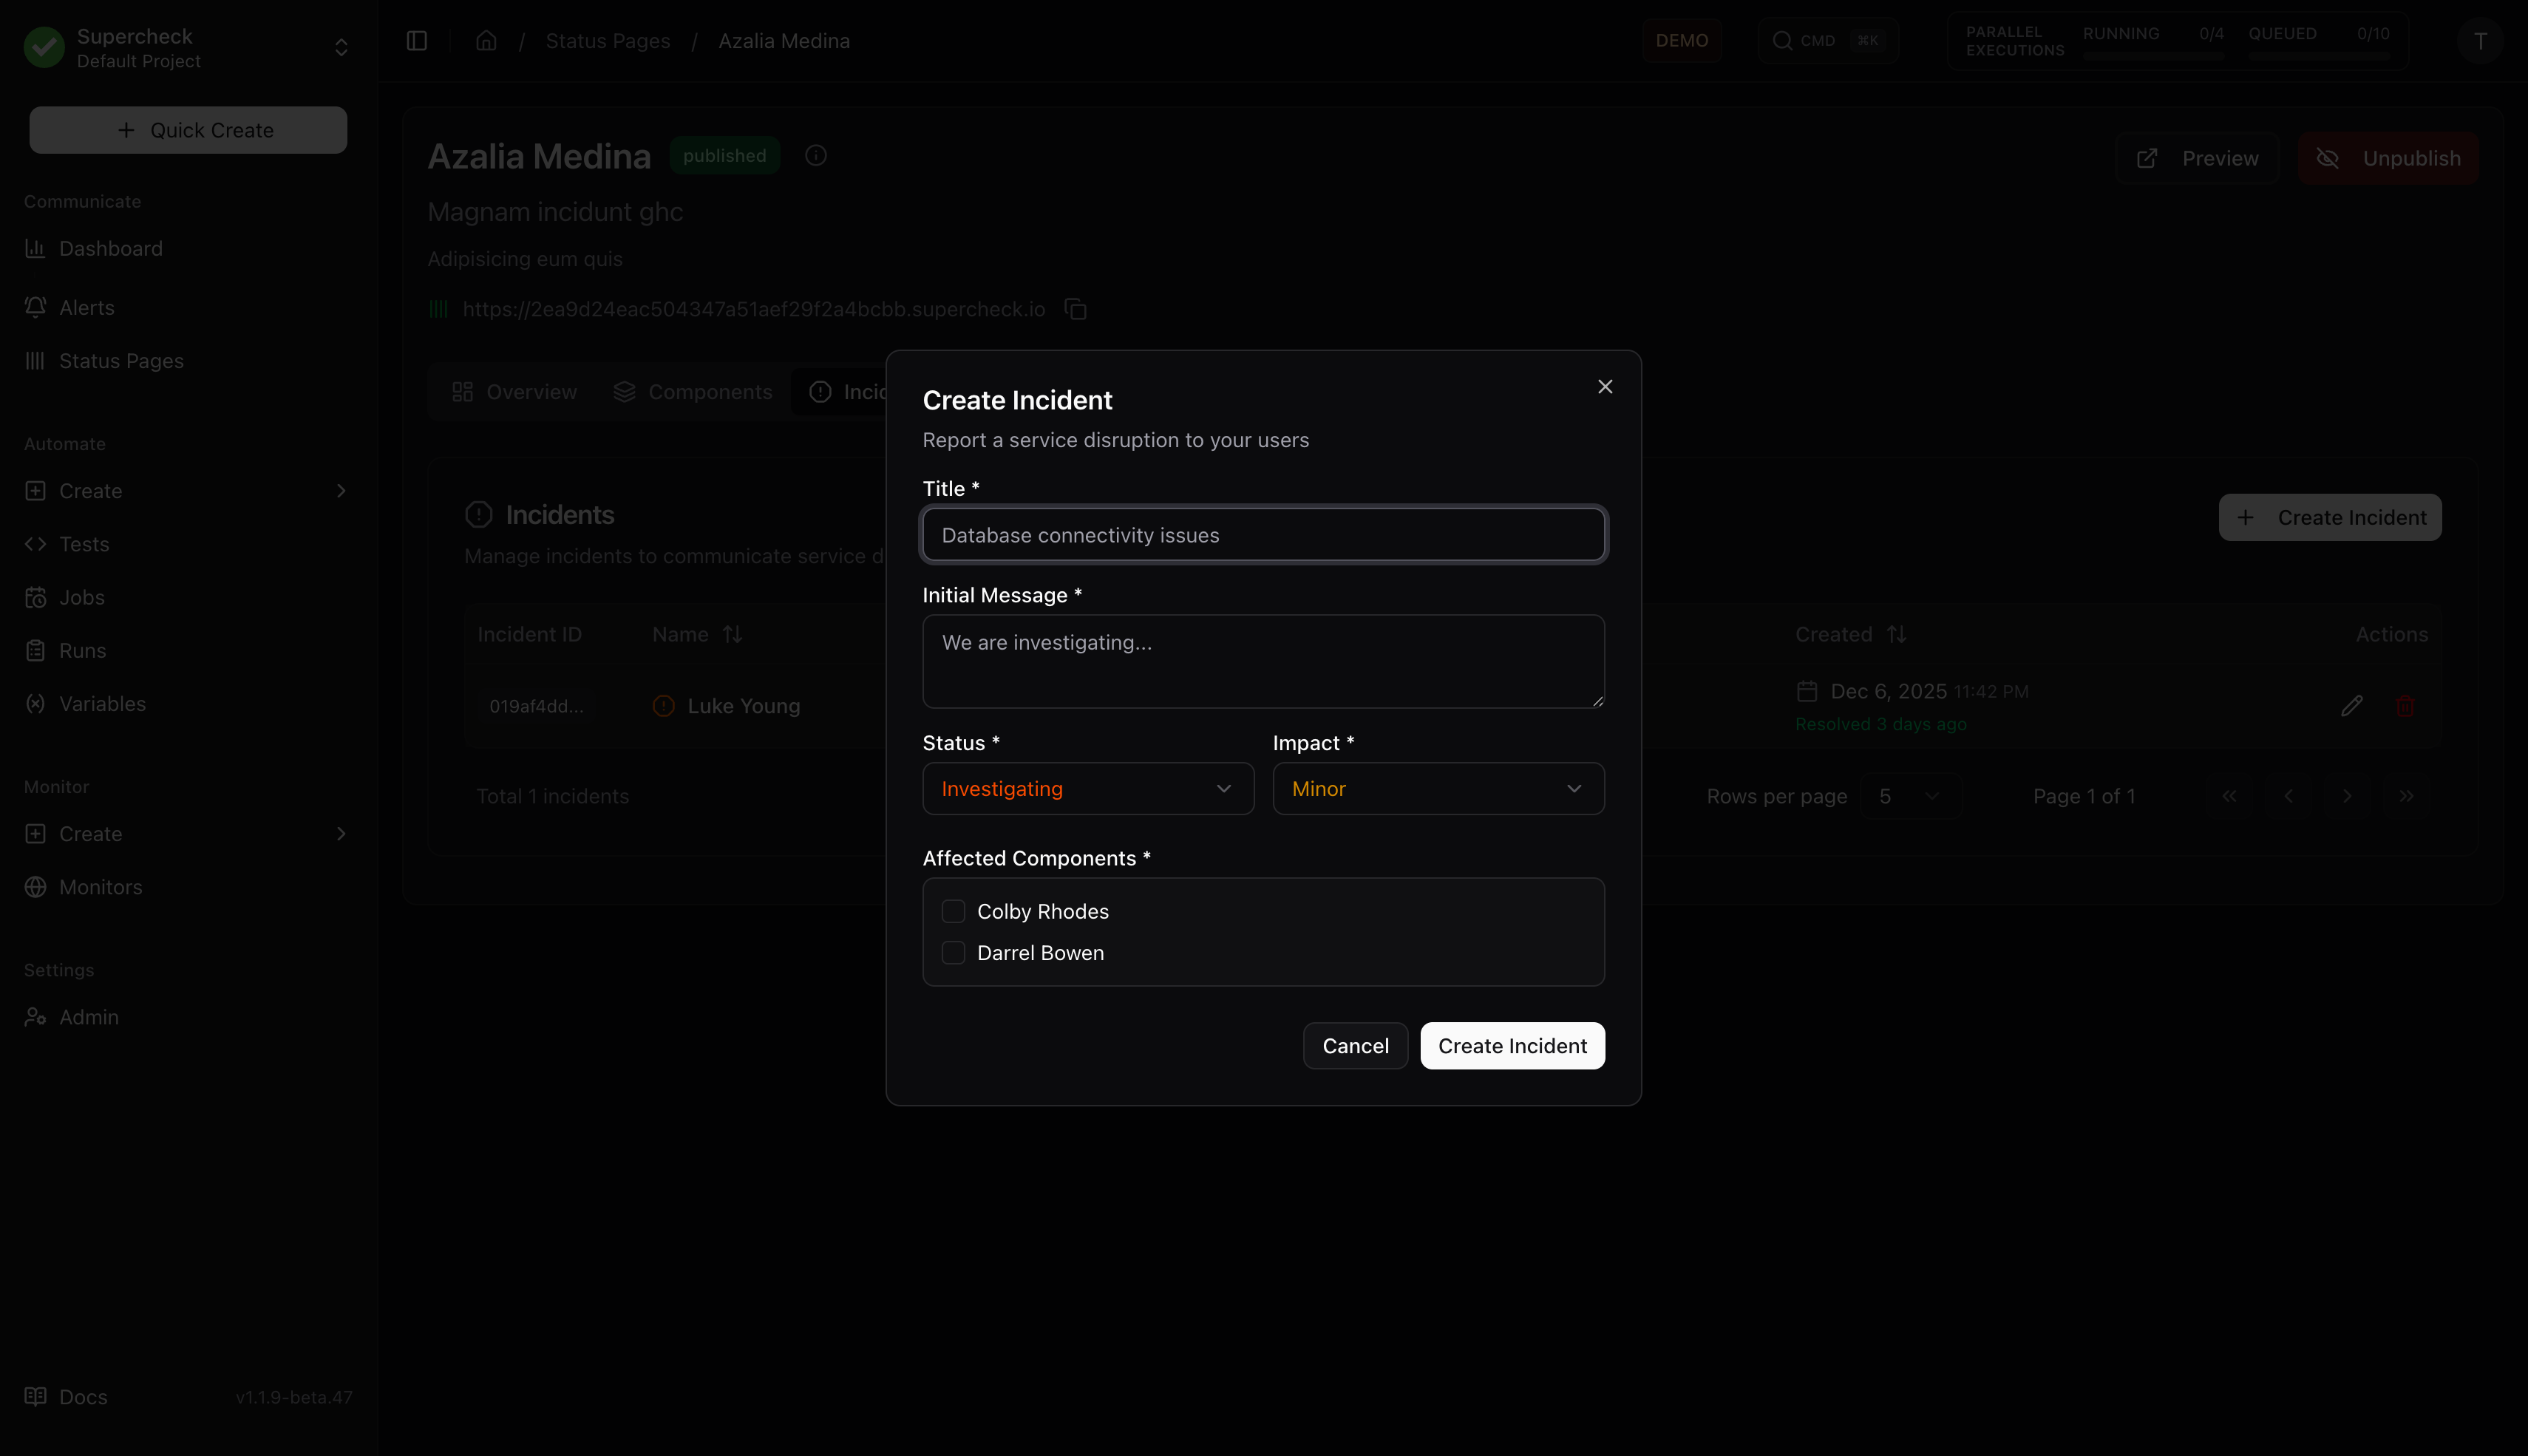
- Click Create Incident
- Enter:
- Title — Brief description (e.g., "API Response Delays")
- Message — Initial update for users
- Status — Current investigation status
- Impact — Severity level
- Affected Components — Which services are impacted
- Choose whether to notify subscribers
- Click Create
Incident Updates
- Open an existing incident
- Click Add Update
- Write update message
- Update status if changed
- Choose whether to notify subscribers
Scheduled Maintenance
- Create incident with Scheduled status
- Set start and end times
- Enable automatic status transitions
- Configure reminder notifications
| Status | Description |
|---|---|
| Investigating | Issue detected, team investigating |
| Identified | Root cause found, working on fix |
| Monitoring | Fix deployed, monitoring stability |
| Resolved | Issue completely resolved |
| Scheduled | Planned maintenance |
| Impact | Description |
|---|---|
| None | Informational update |
| Minor | Small subset of users affected |
| Major | Significant impact on service |
| Critical | Complete service outage |
Subscribers
Manage users who receive incident notifications.
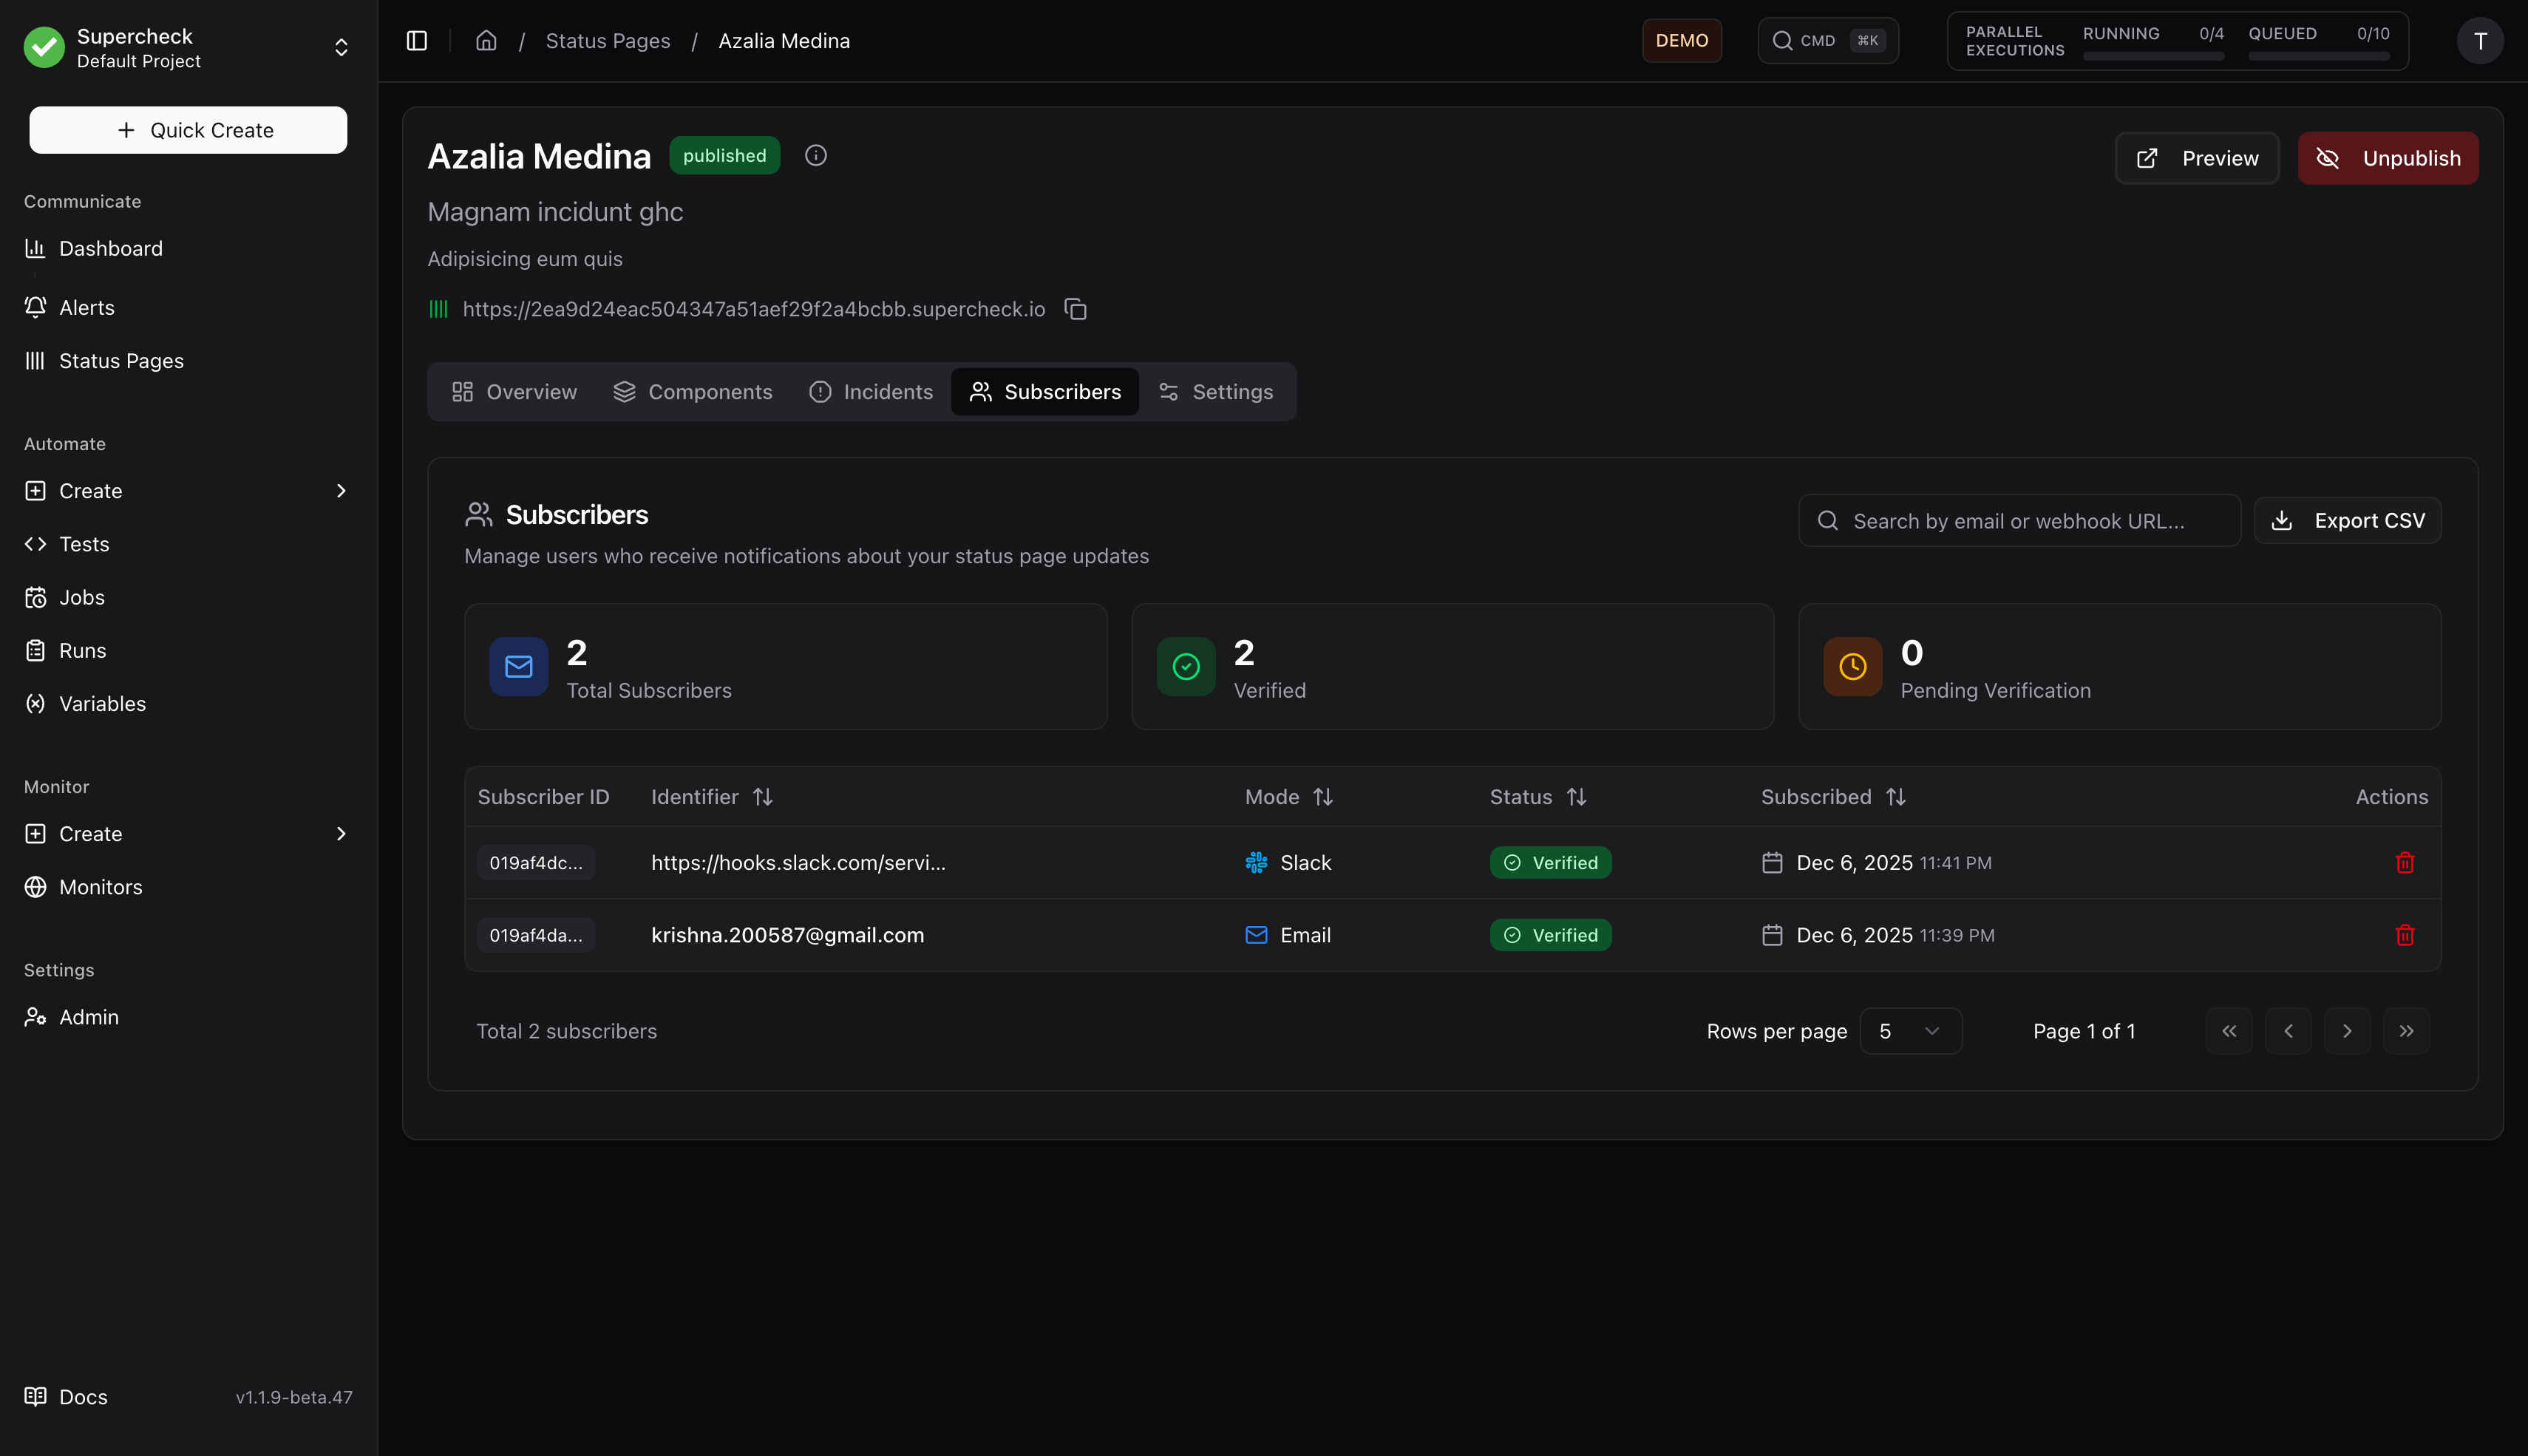
Features:
- View all subscribers (email, webhook, Slack)
- See verification status
- Search and filter by email or URL
- Export to CSV
- Delete subscribers
- View statistics (total, verified, pending)
Notification Types
Subscribers receive notifications for:
- New incidents created
- Incident status updates
- Incident resolution
- Scheduled maintenance reminders
Settings
Configure branding and notification settings.
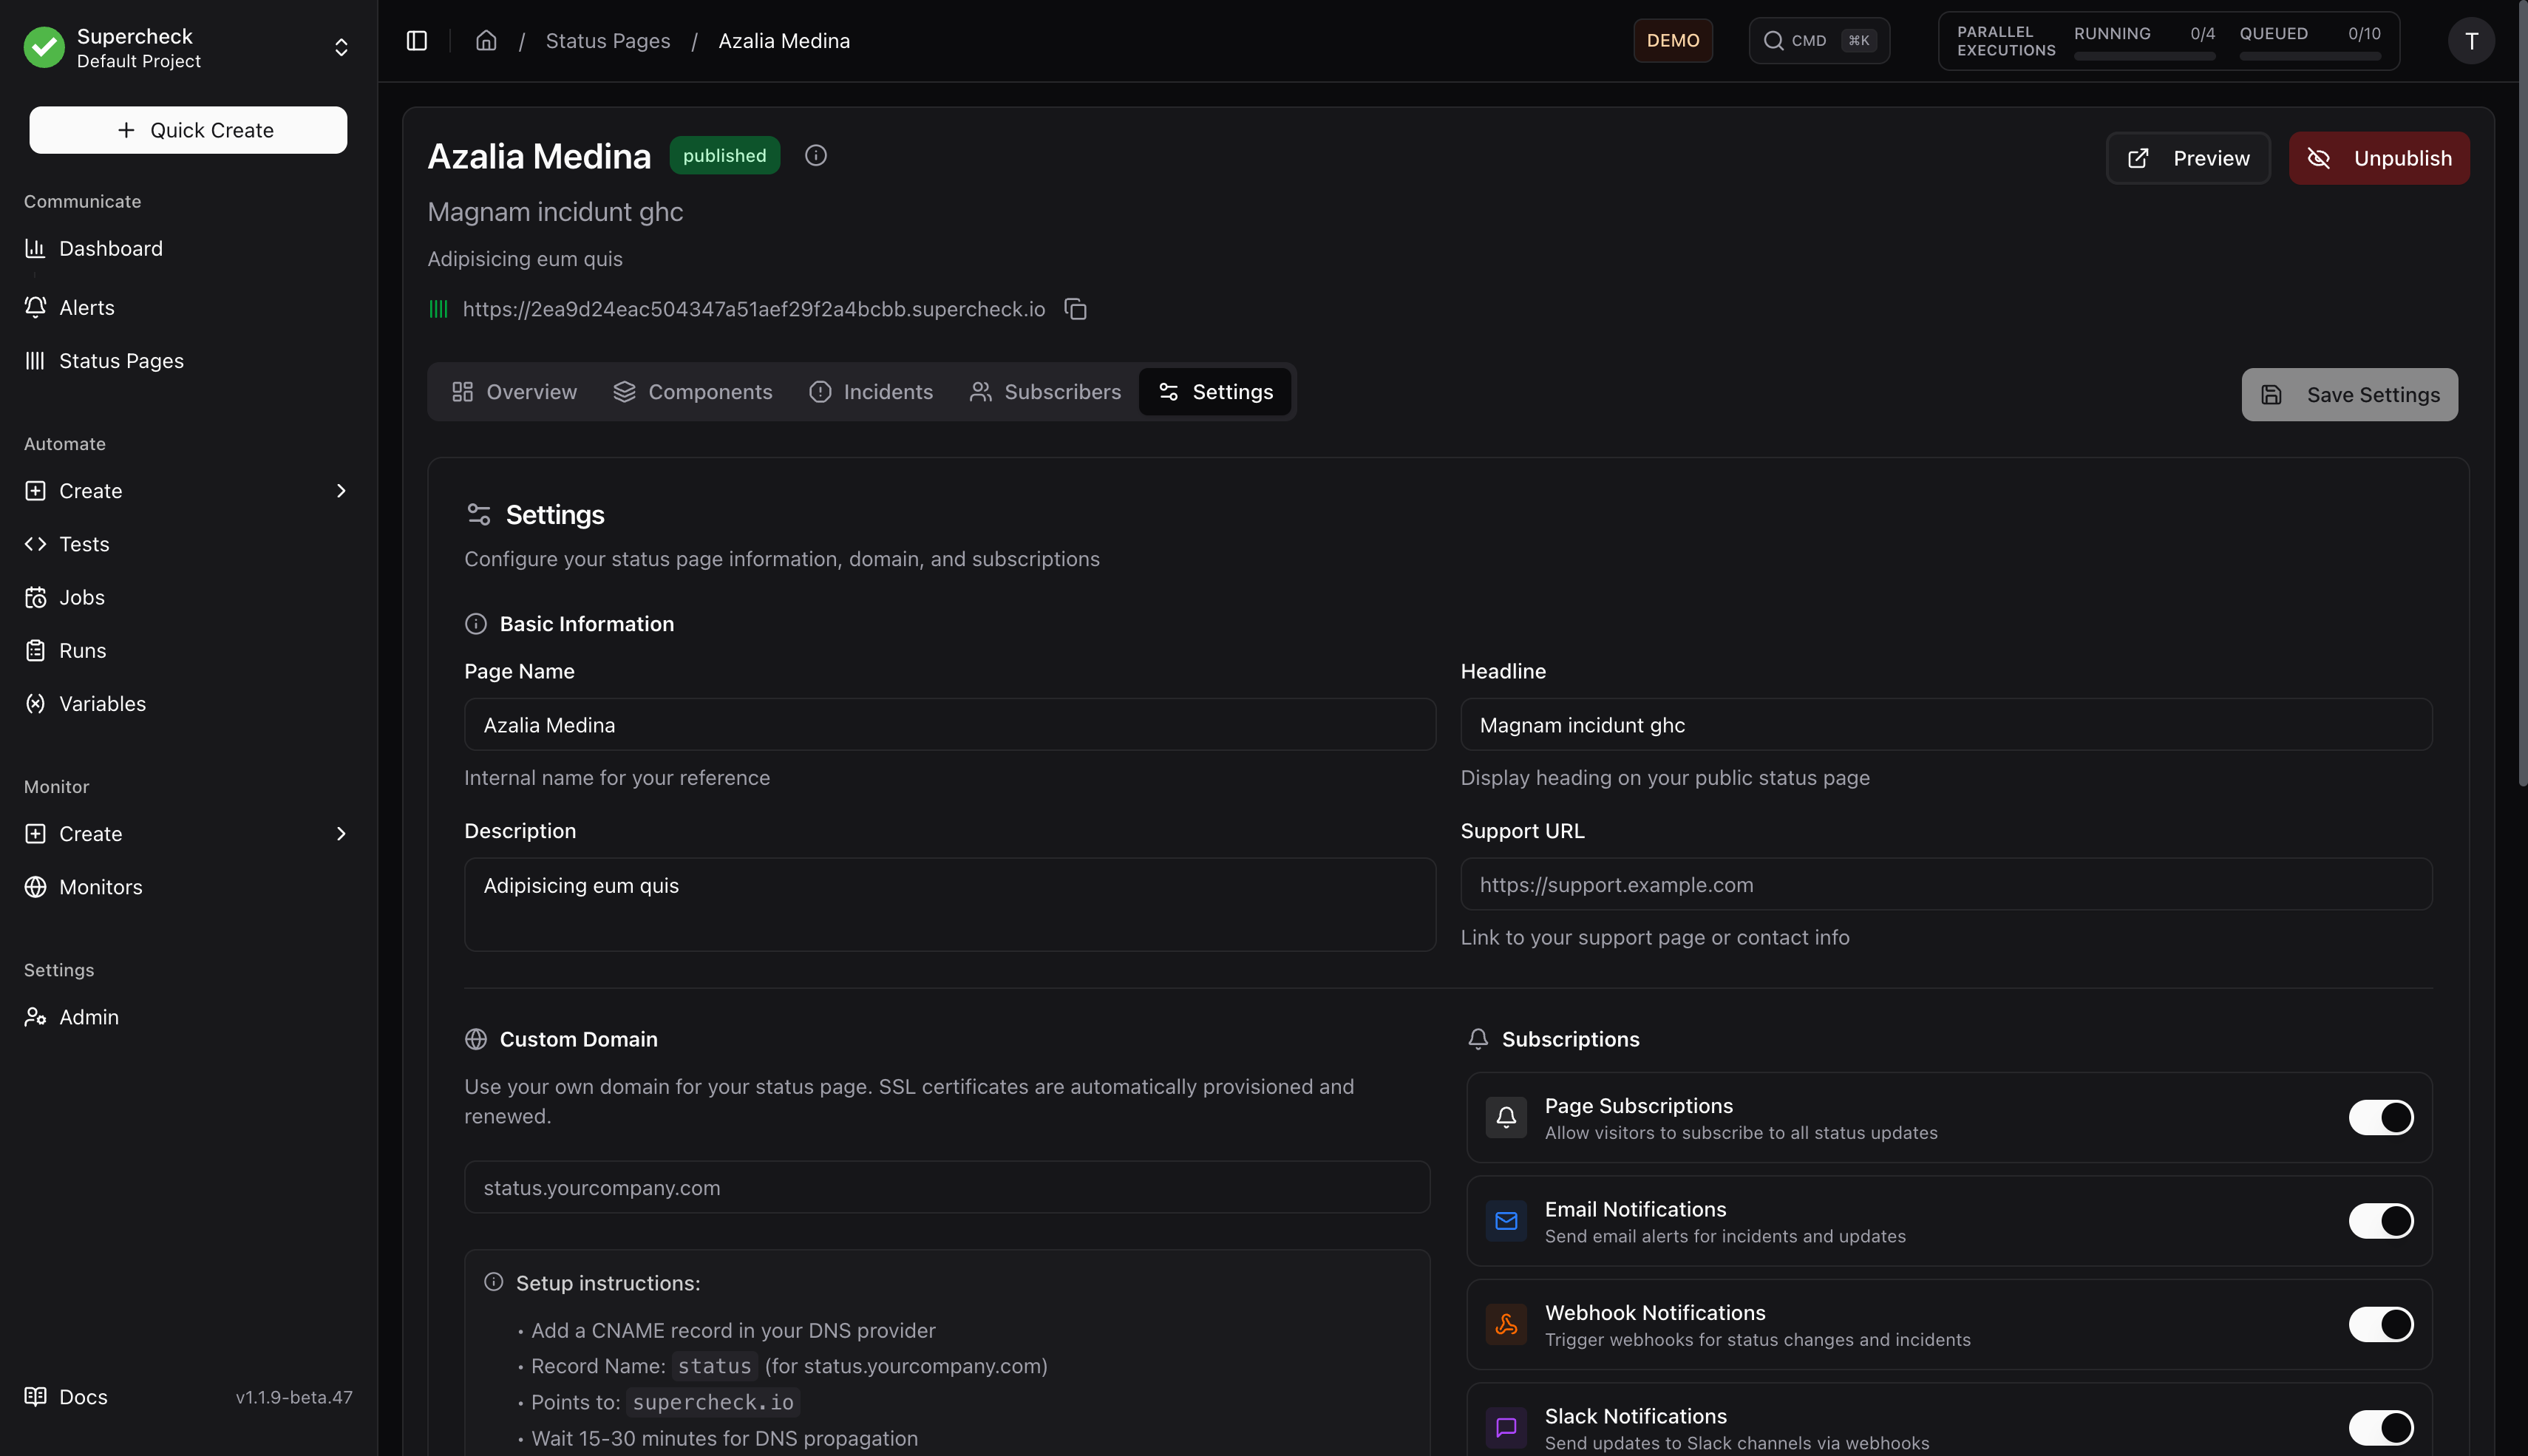
- Logo — Header logo for status page
- Favicon — Browser tab icon
- Status Colors — Customize colors for each status type
- Custom Domain — Use your own domain (e.g.,
status.yourcompany.com)
- Subscriber Types — Enable/disable email, webhook, Slack subscriptions
- RSS Feed — Enable RSS feed for subscribers
- Email Footer — Custom text in notification emails
Use your own domain (e.g., status.yourcompany.com) instead of the default subdomain.
How Custom Domains Work
Step-by-Step Setup
Add DNS Record
Log in to your DNS provider (e.g., Cloudflare, GoDaddy, Namecheap) and add a CNAME record:
| Type | Name | Target |
|---|---|---|
| CNAME | status | Your Supercheck domain* |
CNAME Target:
- Cloud users: Point to
supercheck.io - Self-hosted: Point to your
STATUS_PAGE_DOMAINvalue
Configure in Supercheck
- Go to your status page → Settings tab
- Enter your custom domain (e.g.,
status.yourcompany.com) - Click Save
Verify DNS
- Wait 5-15 minutes for DNS propagation
- Click Verify DNS button
- Once verified, your custom domain is active
SSL Certificate
An SSL certificate is automatically provisioned via Let's Encrypt. Your custom domain will serve HTTPS traffic within minutes of verification.
Troubleshooting
| Issue | Solution |
|---|---|
| "CNAME not found" | Wait 15-30 minutes for DNS propagation |
| "Points to wrong target" | Verify CNAME target matches your Supercheck domain |
| "Domain already in use" | The domain is configured on another status page |
| SSL certificate pending | Wait a few minutes after verification |
Test DNS Propagation: Use dnschecker.org to verify your CNAME record has propagated globally.